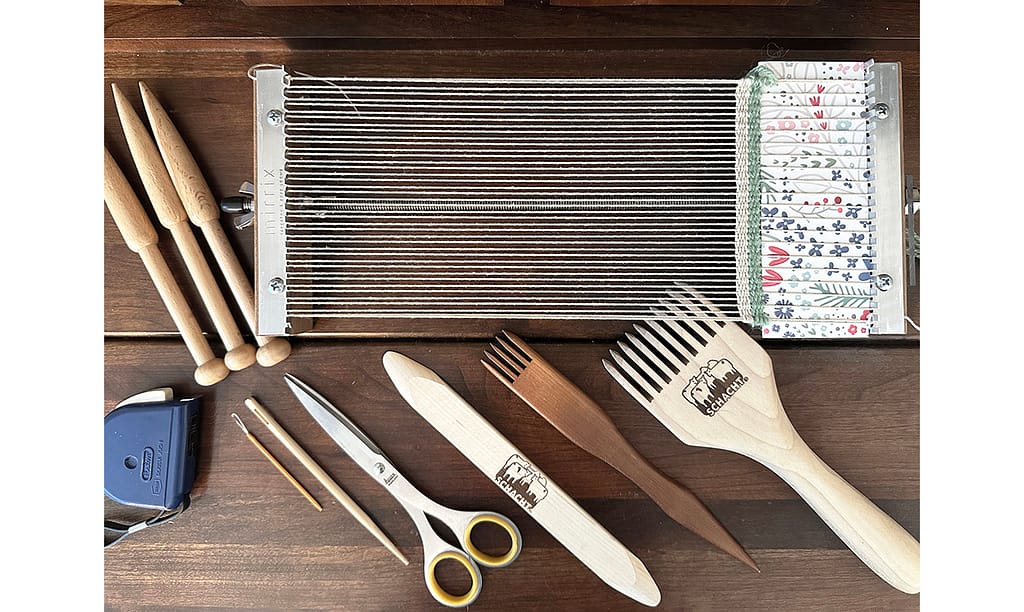
Before you start weaving the tapestry body, several preparations are necessary to provide structural stability to the tapestry and improve the final appearance.
In this article, I will present my usual preparation procedures as follows:
- Warping your loom
- Attaching heddles to the warp as needed
- Attaching an ordering code or making space from the bottom ends of the warp
- Weaving waste yarn
- Weaving a header
Here are the details of each procedure.
手織りタペストリーの本体を織り始める前に、タペストリーの構造を安定させたり、最終的な見栄えを良くするために、いくつかの準備が必要です。
この記事では、普段私が行う準備のためのステップとして、以下の内容を紹介します。
それぞれの手順を詳しく説明していきます。
1. Warping your loom | ルームにワープを張る
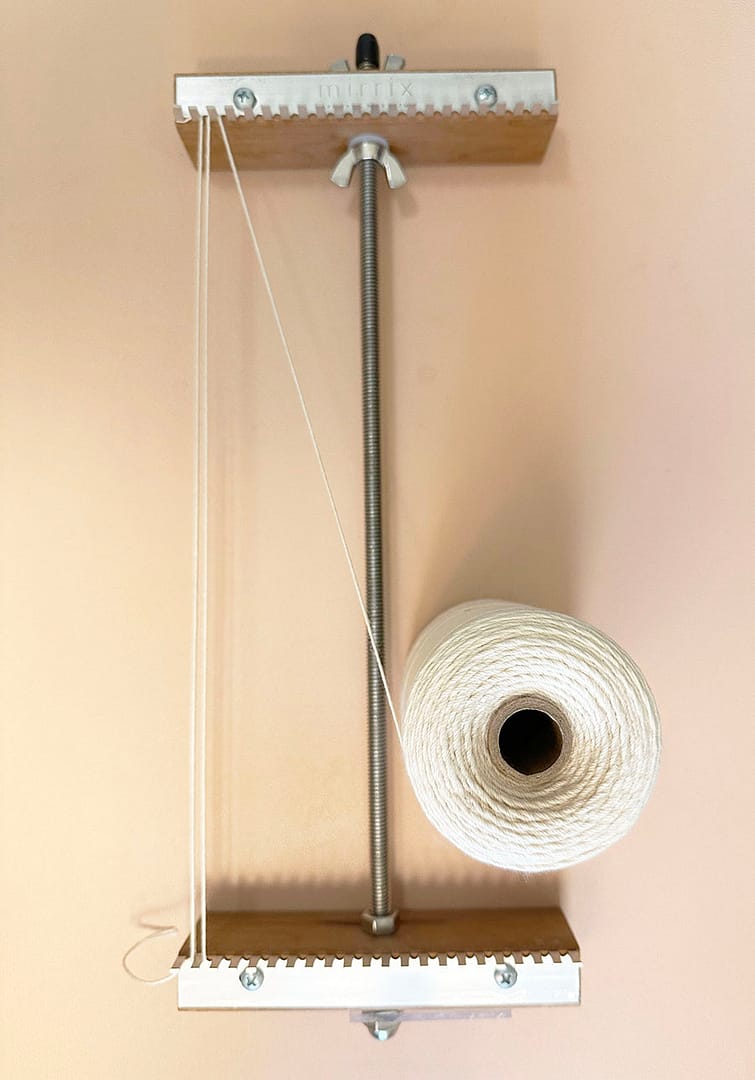
The first step is to warp your loom.
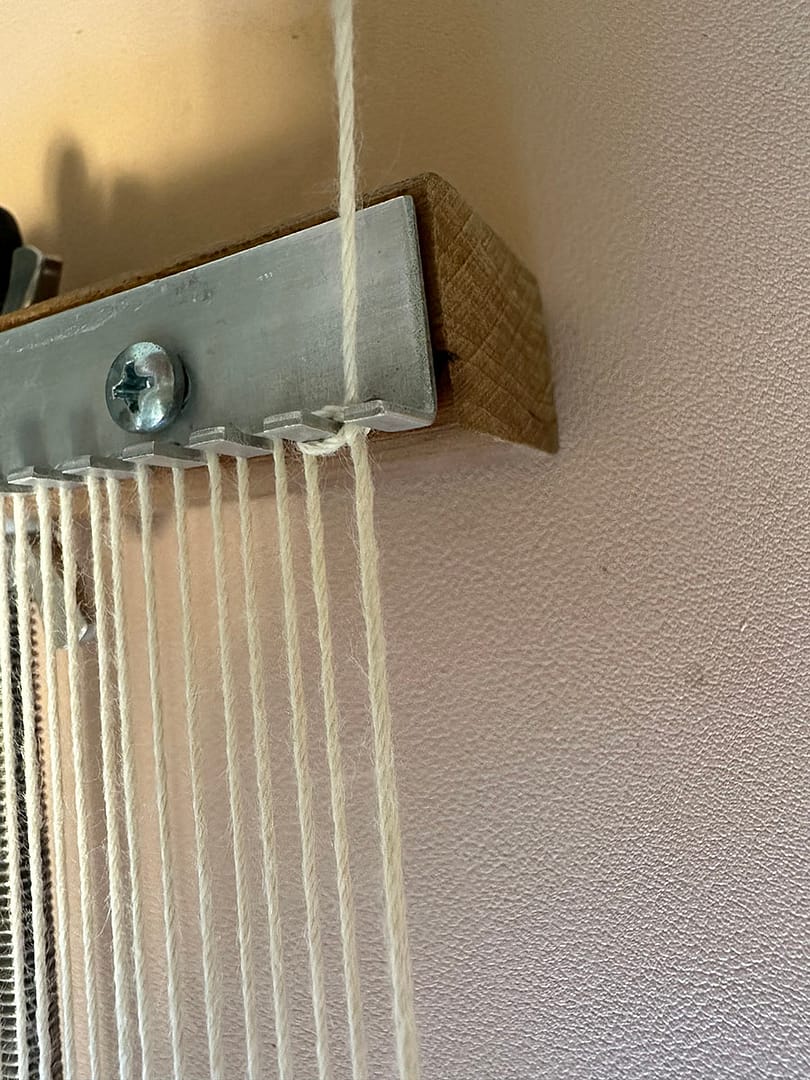
Both sides could be double floating selvedges when threading the warp so that the finished weavings look sturdy.
For example, if you are stringing 39 warp threads, double stringing both sides would result in an additional 2 warp threads, for a total of 41 warp threads.
まず最初に、手織り機にタテ糸(ワープ)を張ります。
両サイドのワープを二重にすると、出来上がりがしっかりとした見栄えになるのでお勧めです。
例えば、39本のワープを張る場合、両サイドを二重にすると、プラス2本となり、合計41本のワープを張ることになります。



2. Attaching heddles to the warp as needed | 必要に応じてワープにへドルを取り付ける
The heddles are useful because they increase the speed of the weaving process.
If there is a device to attach heddles, they will need to be attached to each warp thread. If you do not have the device, you can still attach the heddles as shown in the photos.
織るスピードを上げるために、へドルがあると便利です。へドルを取り付ける装置があれば、ワープの一本一本に取り付けていきます。装置がない場合でも、画像のようにへドルを取り付けることが可能です。


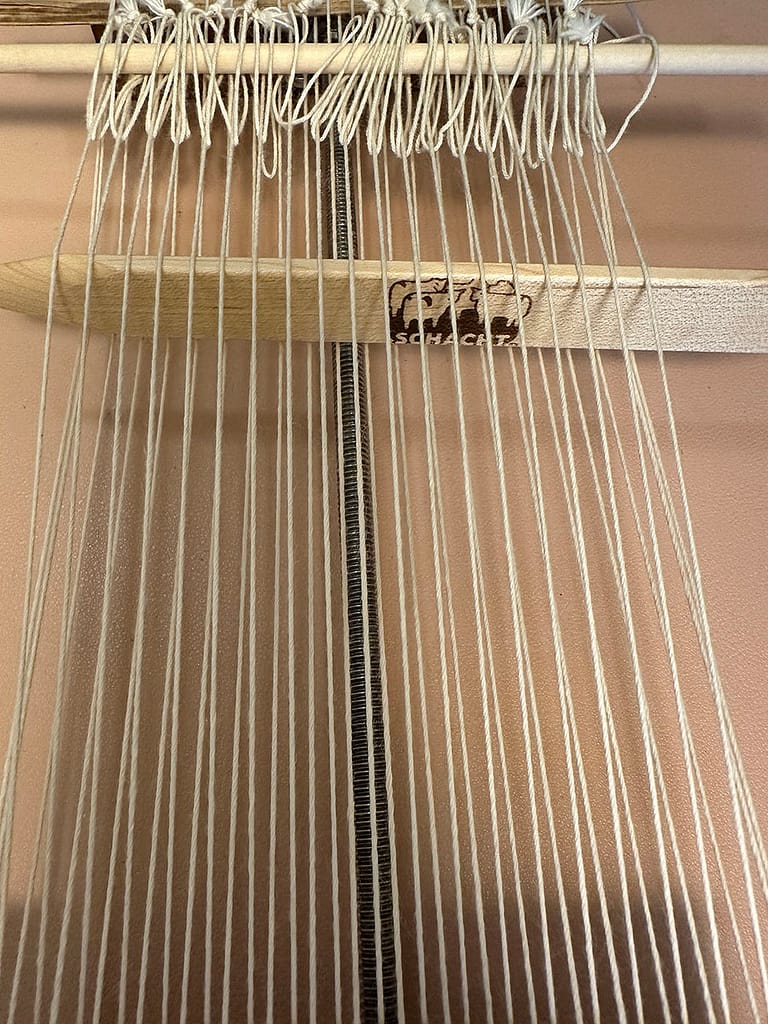

Photos 1-6 show a type of loom without a heddle attachment device, and only the even-numbered warps have heddles attached. A flat wooden stick is inserted in odd-numbered warps.
写真1~6は、へドルを取り付ける装置がないタイプのルームで、偶数本目のワープにだけヘドルを取り付けています。奇数本目のワープには、平たい木の棒を入れているだけです。


Photos 7 through 9 show a type of loom with a device for attaching heddles.
写真7~9は、ヘドルを取り付ける装置があるタイプのルームです。
3. Attaching an ordering code or making space from the bottom ends of the warp | ワープを張ったルームの下端にオーダリングコードを取り付ける、またはスペースを作る
An ordering code serves as a foundation for weaving and at the same time helps to make fringes of the finished piece by leaving extra warp ends.
オーダリングコードは、手織りタペストリーの土台となると同時に、ワープの端を余らせて、完成品のフリンジを作ることができます。


Photo 1 shows a postcard inserted instead of an ordering code.
Photos 2 and 3 show an ordering code is attached.
写真1は、オーダリングコードの代わりに、厚紙を挿入した様子です。
写真2と3は、オーダリングコードを取り付けた様子です。
4. Weaving waste yarn | 屑糸を織る
Weaving waste yarn helps to even out the spacing of the warp threads. I usually weave 6-8 picks of weft as the waste yarn. It can be untied at the end and saved to be used over and over again.
ワープの間隔を均等になるようにするため、屑(くず)糸で6~8段のヨコ糸を織ることをお勧めします。屑糸となるヨコ糸は、最後にほどいて保存しておき、何度も繰り返し使うことができます。


Photo 1: After weaving two picks, ensure that the width of the warp is the same from top to bottom.
Photo 2: Using a needle or thin stick, adjust the warp threads so that they are evenly spaced.
Photo 3 shows evenly spaced warp threads. After that, weave additional 4-6 picks, as shown in Photo 4, then make a pigtail and secure the waste yarn as shown in photo 5 and 6.
写真1:2段を織った後、ワープの幅が上から下まで同じであることを確認します。
写真2:針や細い棒を使って、ワープの間隔が均等になるように調節します。
写真3はワープの間隔が均等になっている状態です。その後、写真4のようにさらに4~6段織り、写真5、6のように、最後にピッグテールを作って、屑糸を固定します。
5. Weaving a header | ヘッダーを織る
Headers will be woven into the bottom and top ends of your tapestry to provide structural stability to the tapestry.
I usually weave a line of twining and 6-pick plain weaving using the same yarn as the warp.
There is also a way not to weave headers, so it is your choice, but I think the finished pieces look nicer together if there are headers using the same thread as the fringes.
Cut enough warp yarn for 9-pick weaving for both 6-pick weaving and twining weaving.
ヘッダーは、手織りタペストリーの下端と上端に織り込まれ、ヘッダーによって、構造的にタペストリーが安定します。
私は通常、ワープと同じ糸を使い、トワイニング技法で織ったあとに、6段平織します。
ヘッダーを織らない方法もあるので、好みにはなりますが、フリンジと同じ糸を使ったヘッダーがある方が、完成品がきれいにまとまってみえると思います。
6段の平織とトワイニング織を続けて織るため、タテ糸(ワープ糸)は、9段分織れるくらいの分量をカットします。

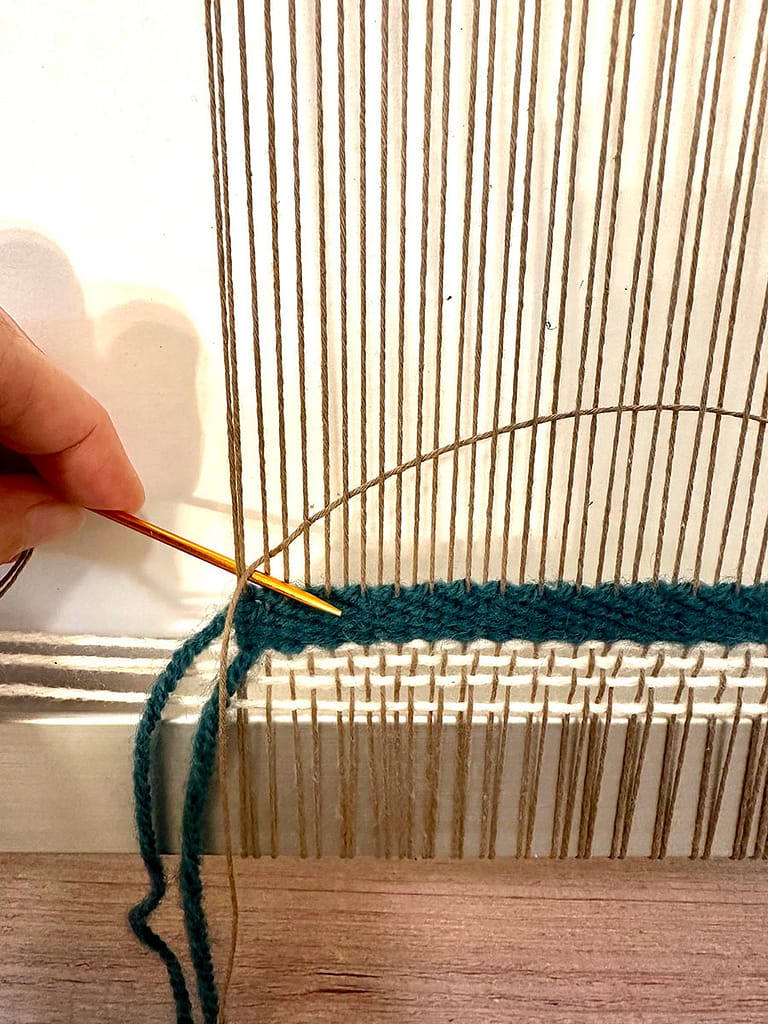


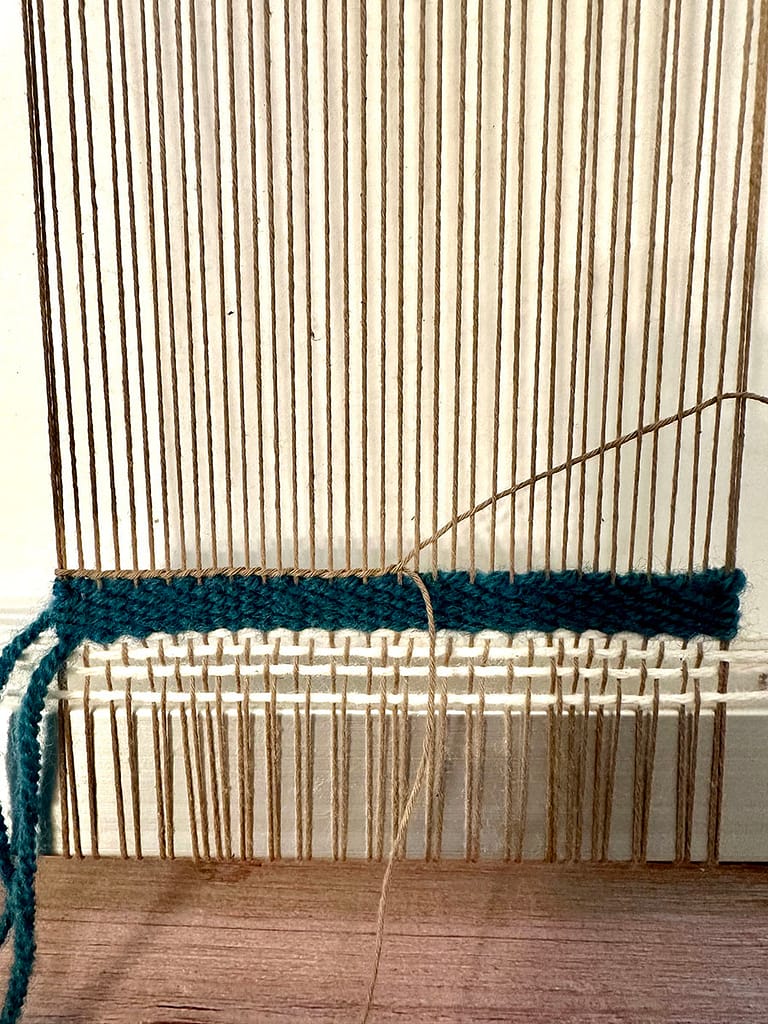

Photos 1-6 show weaving with the twining technique.
写真1~6は、トワイニング技法で織った様子です。


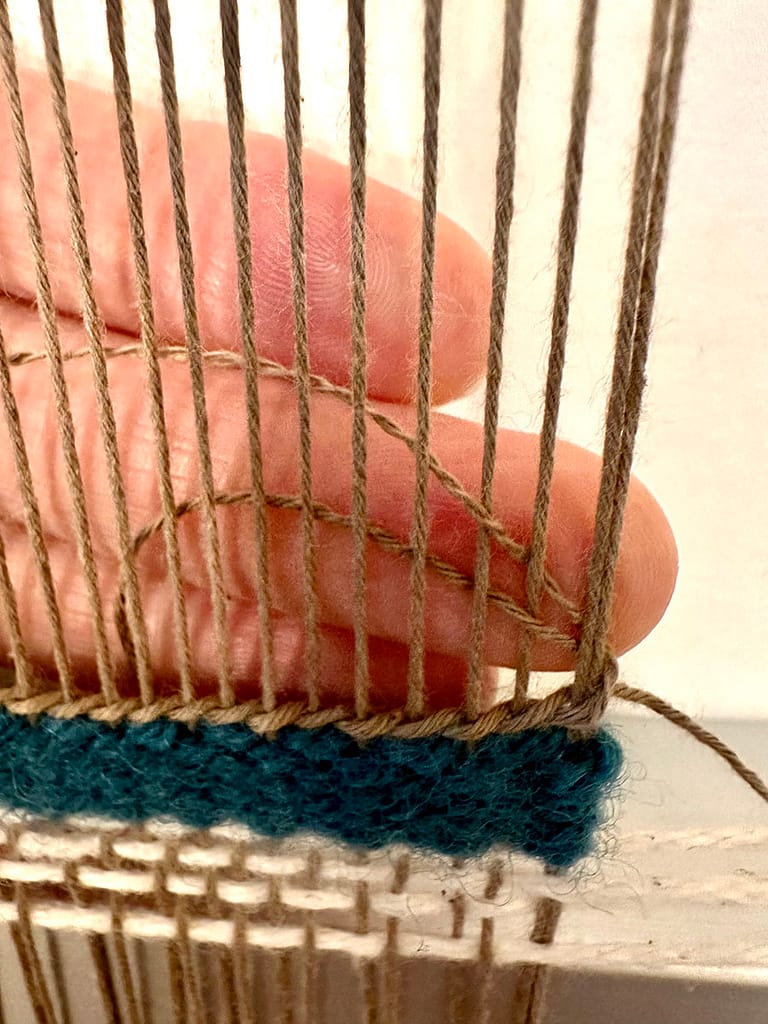
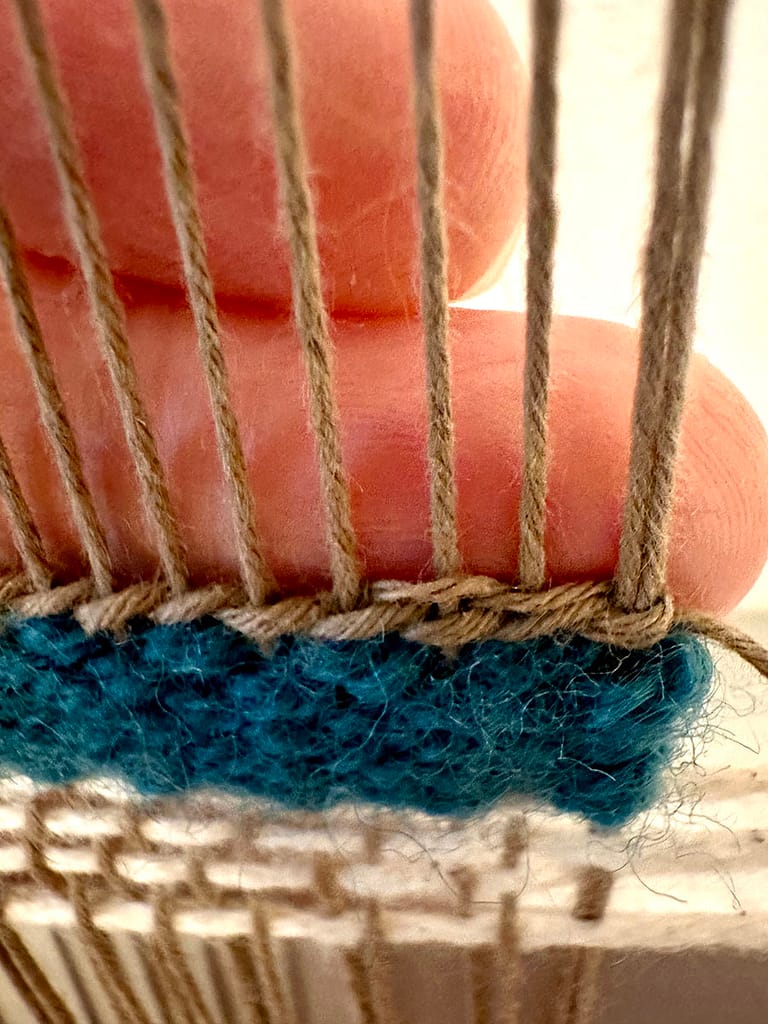
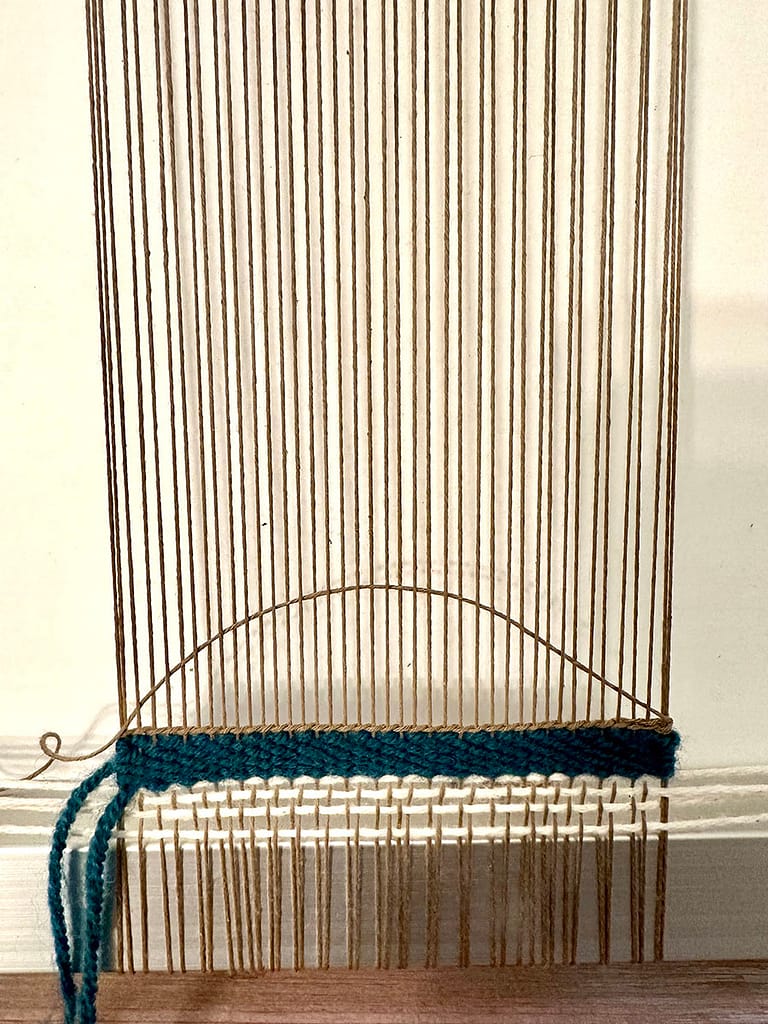
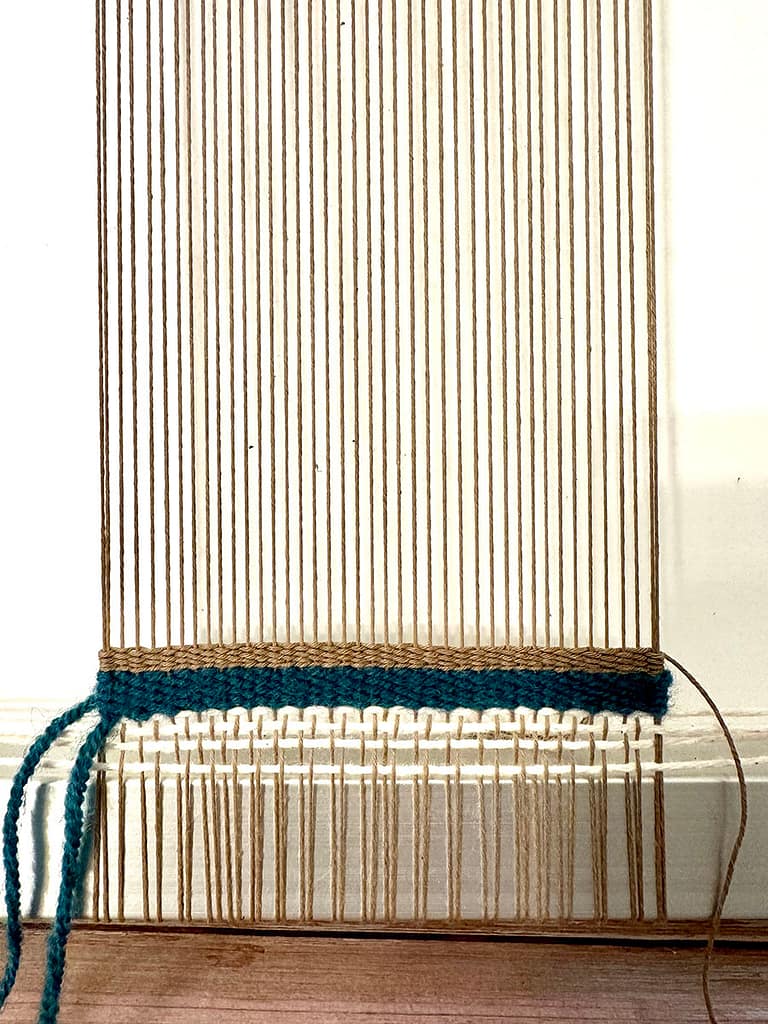
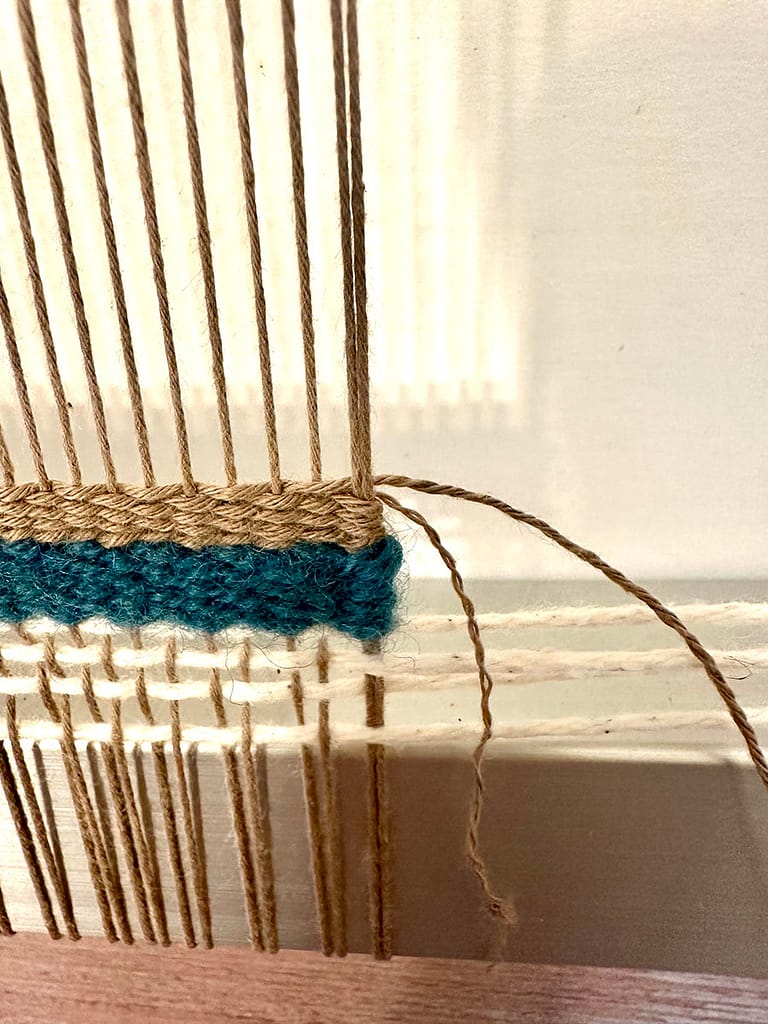
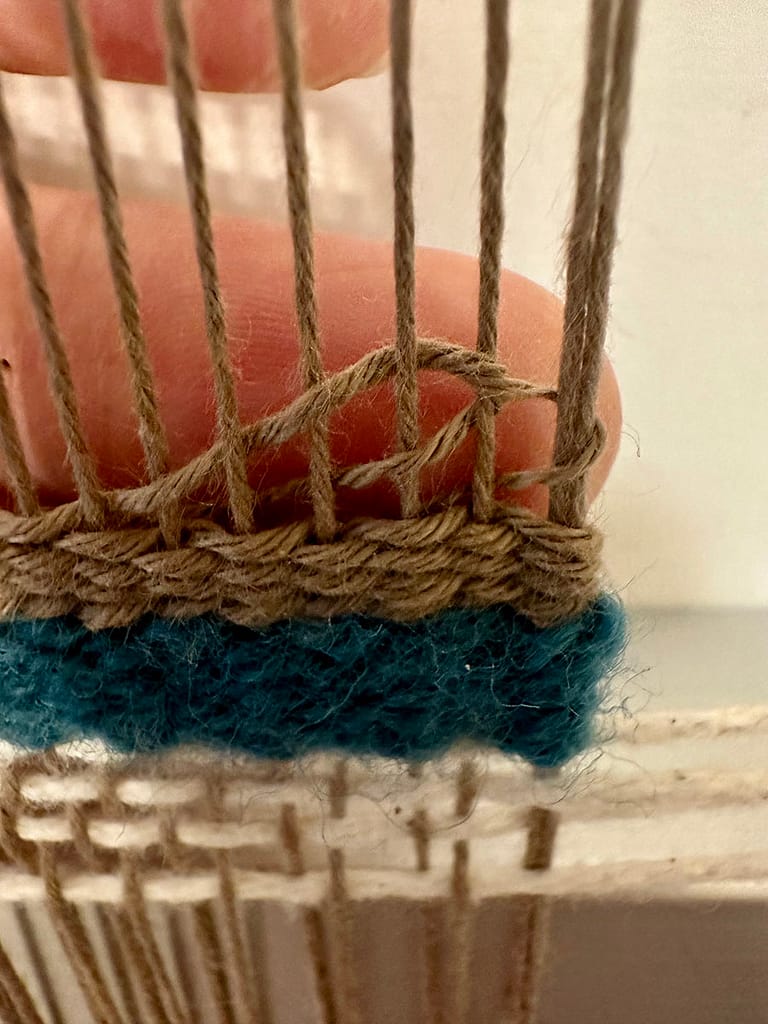
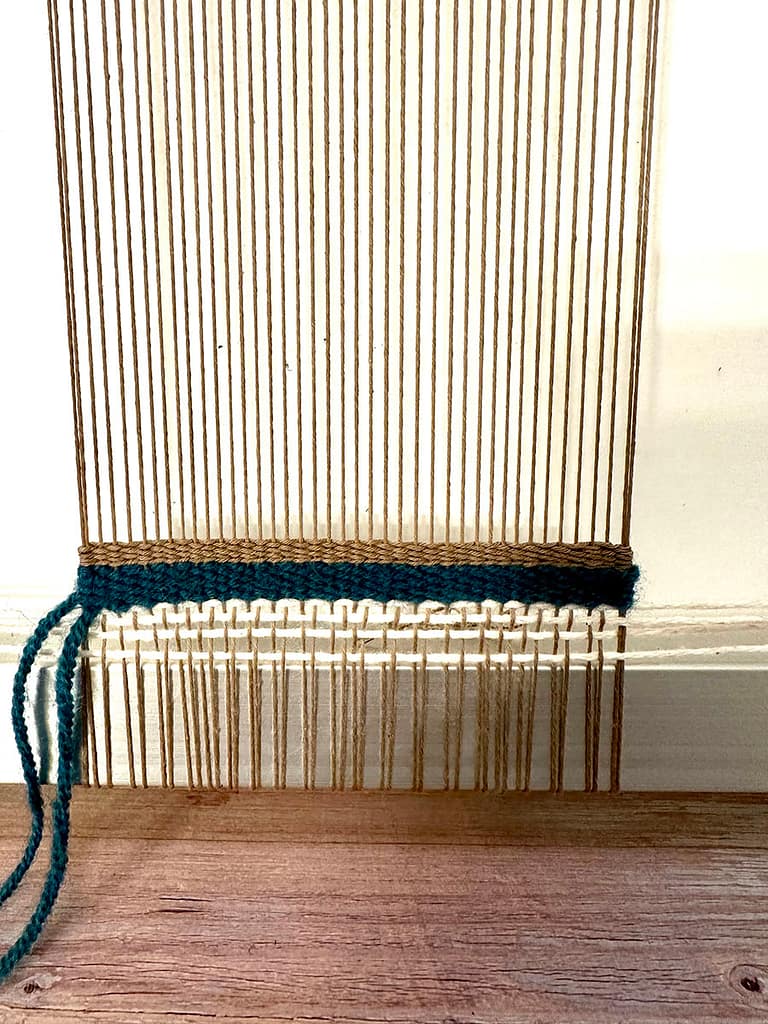
Photos 7 to 10 show the first tailing. After that, as shown in photos 11 and 12, continue with 6-pick plain weaving, followed by another tailing as shown in photos 13 and 14, and in photo 15, the bottom header is completed.
Remember to weave the top header in the reverse order of the above after weaving the body.
FYI: See the following article for more information on tailing processes:
写真7~10は、最初のテールの処理の様子です。そのあと続けて、写真11と12のように、6段平織し、写真13と14のように、テールの処理をして、写真15で、下端側のヘッダーが完成です。
本体を織り終わった後に、上記と逆の順番で、上端側のヘッダーを織ることを覚えておいてください。
ご参考:テール処理については、以下の記事で詳細に紹介しておりますので、参考にしてください。
Ready to weave | 織る前の準備完了
Now you are ready to weave the body!
Thank you for reading to the end!
これで本体を織る前の準備が整いました!
最後まで読んでいただき、ありがとうございます。


