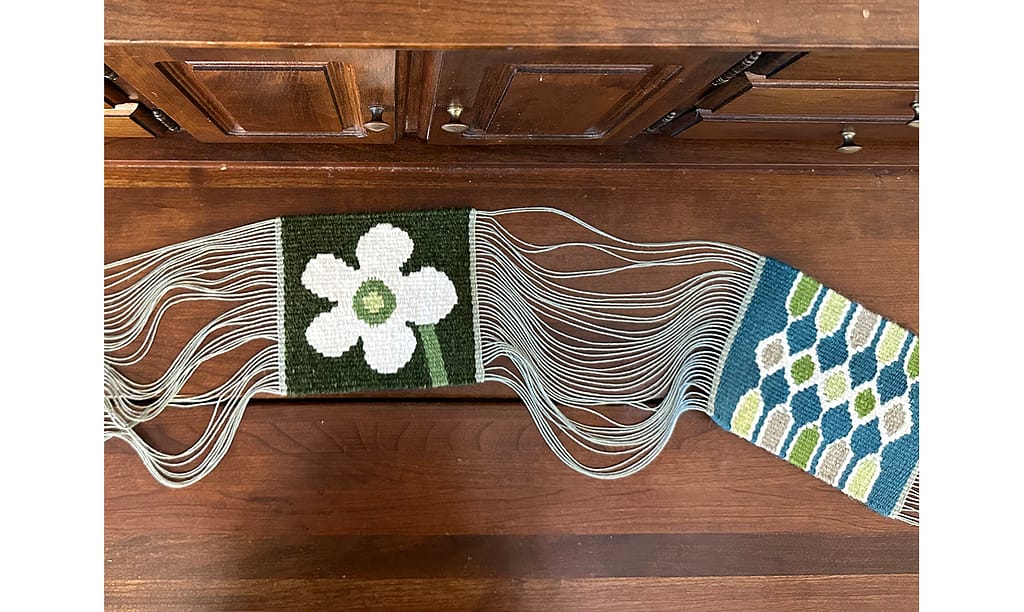
After weaving the body, let’s finish your weaving project. The finishing work I usually perform includes the following:
- Weaving a header on the top edge side
- Taking down the weaving and cut the excess yarn
- Making the fringe
- Sewing the edges
- Ironing
Here are the details of each procedure.
本体を織り終わったら、仕上げに入っていきます。私が普段行う仕上げの作業は、以下のような内容になっています。
それぞれの手順を詳しく説明していきます。
1. Weaving the top header | 上端側のヘッダーを織る
After weaving the body, weave the header again in the reverse order of the bottom header.
本体を織り終えたら、下端側のヘッダーと逆の順序で上端側のヘッダーを織ります。
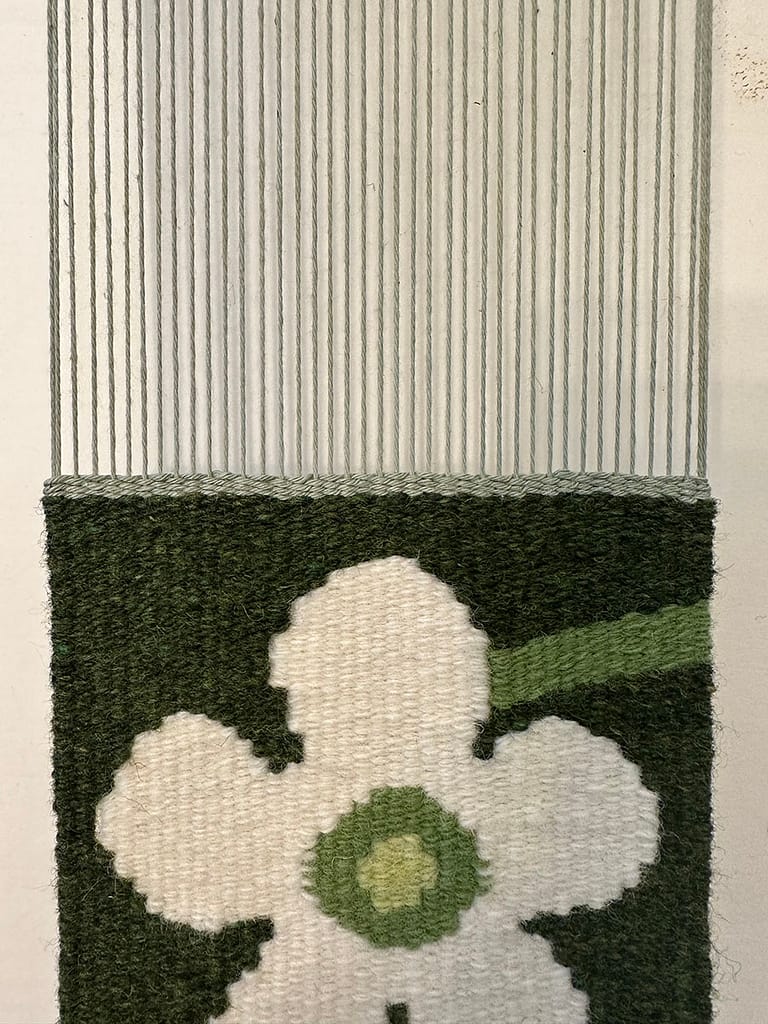
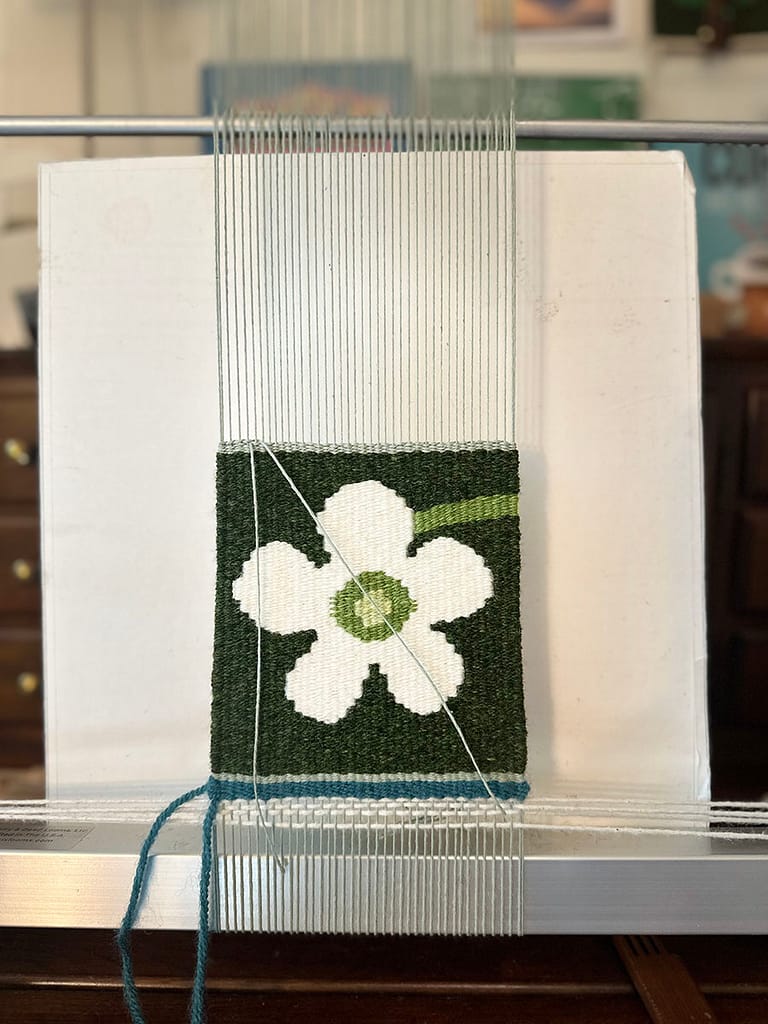
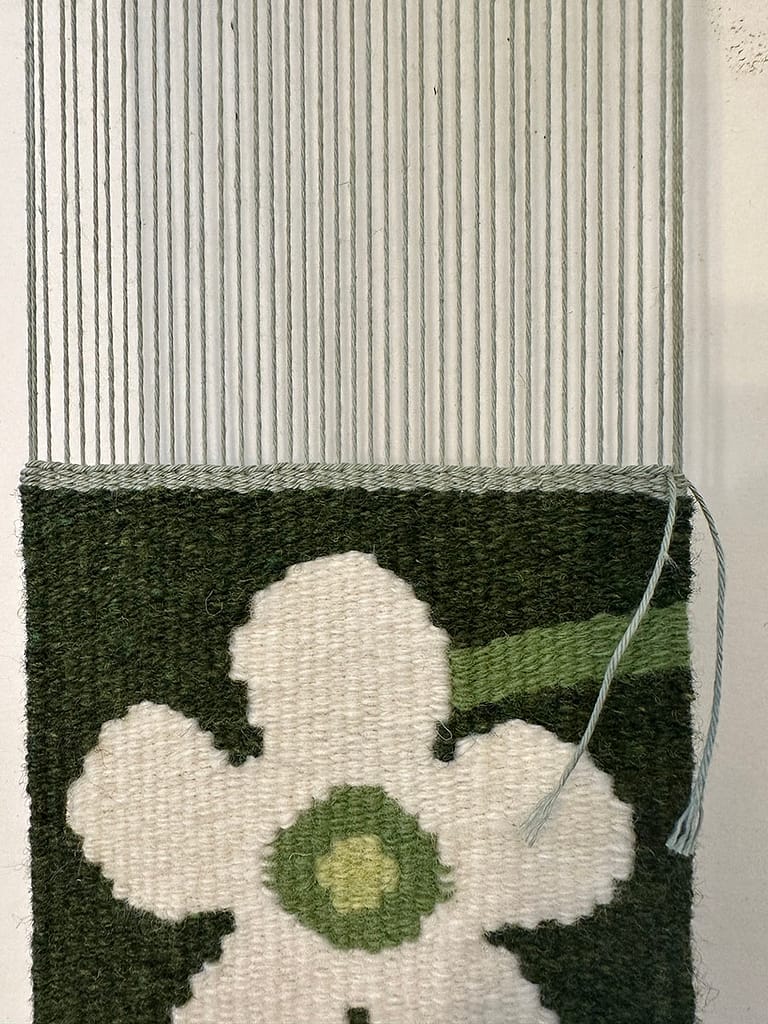
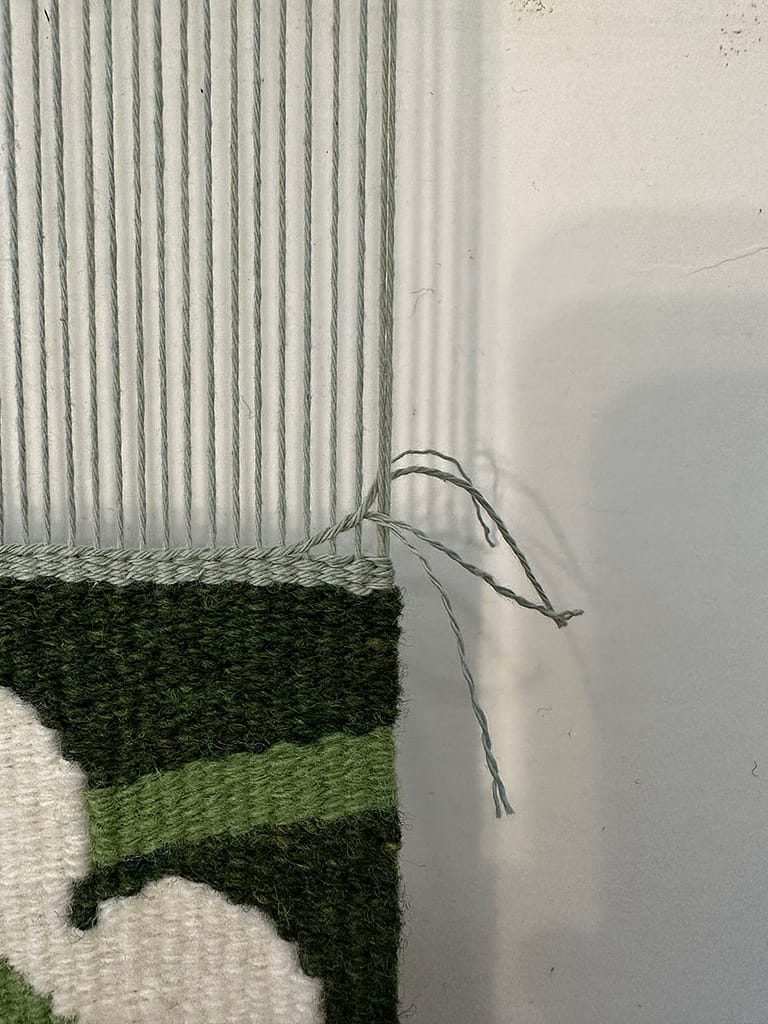
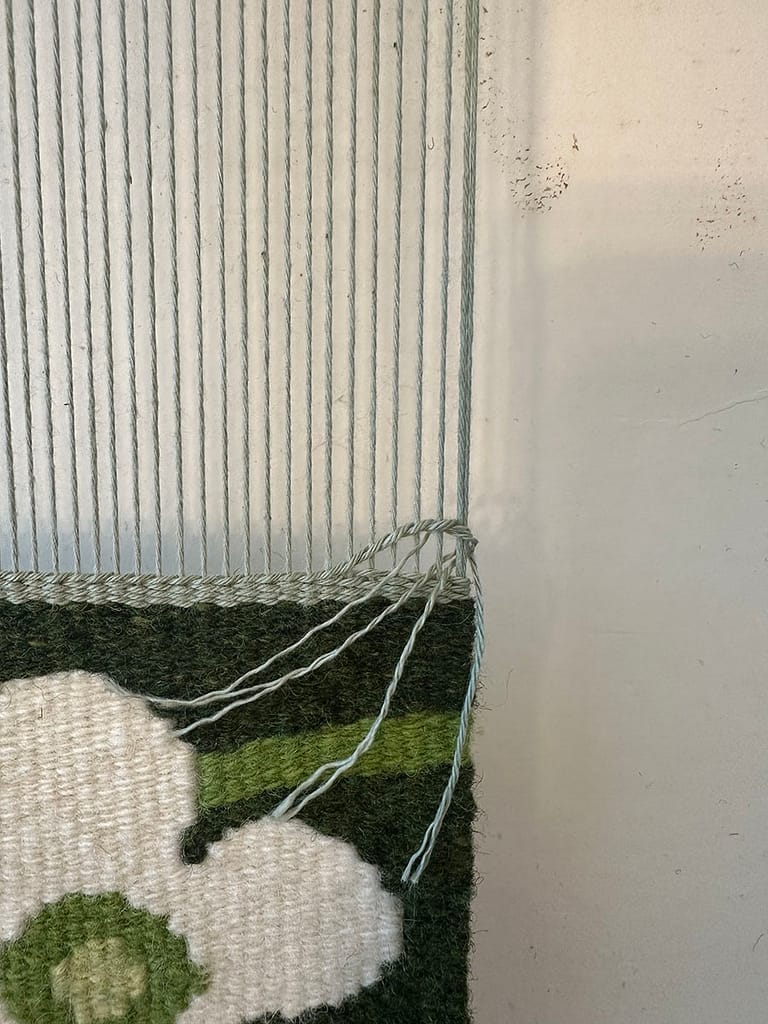
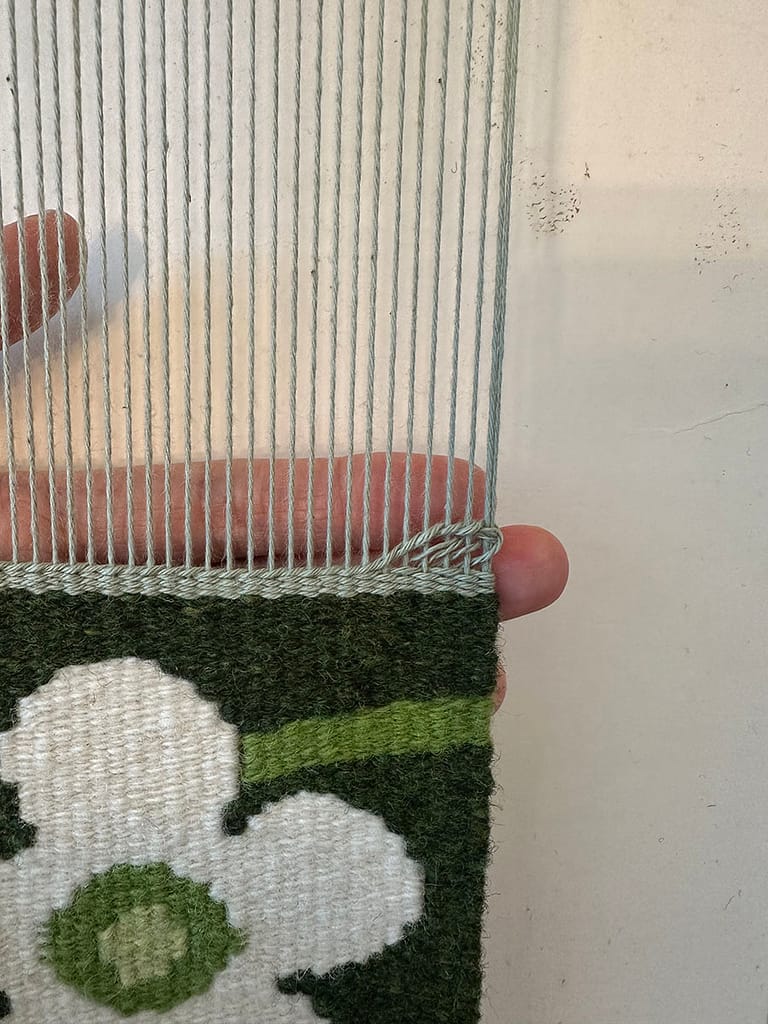
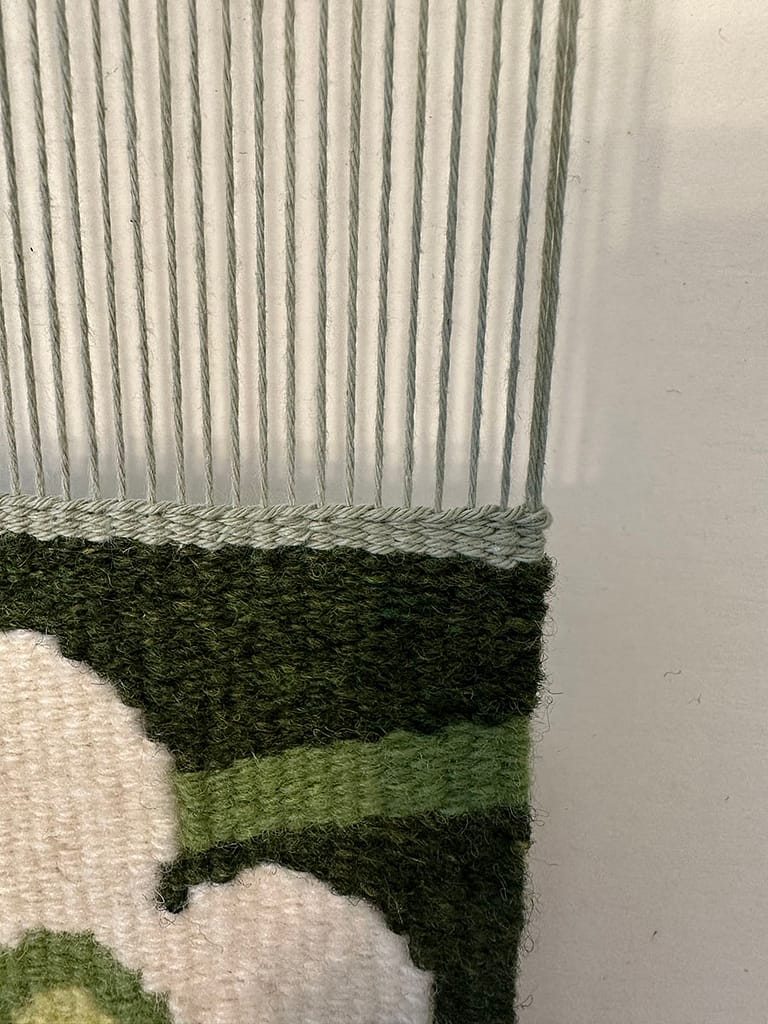
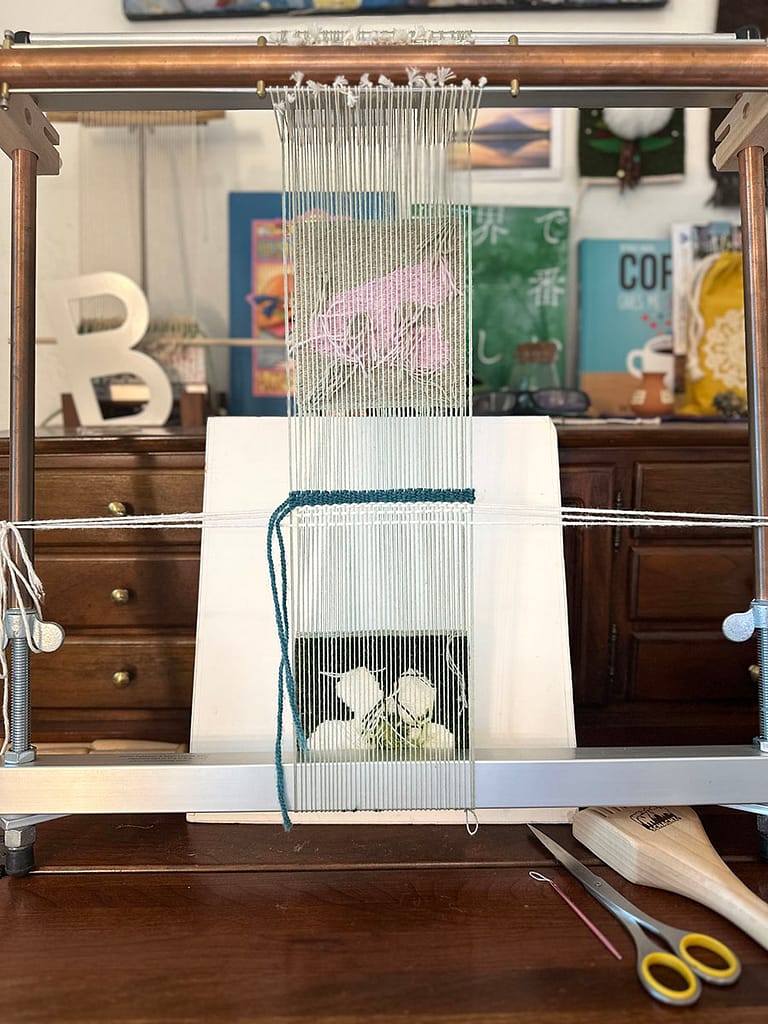
If you weave the bottom header in the order of a line of twining and 6-pick plain weaving, weave in the order of 6-pick plain weaving as shown in photo 1 and a line of twining for the top header as shown in photos 2 through 7.
I usually weave separate warp threads for the top side header, one for 6-pick weaving and one for twining weaving.
After finishing weaving the header with tailing, unwind the ordering cord and waste yarn as shown in photo 8.
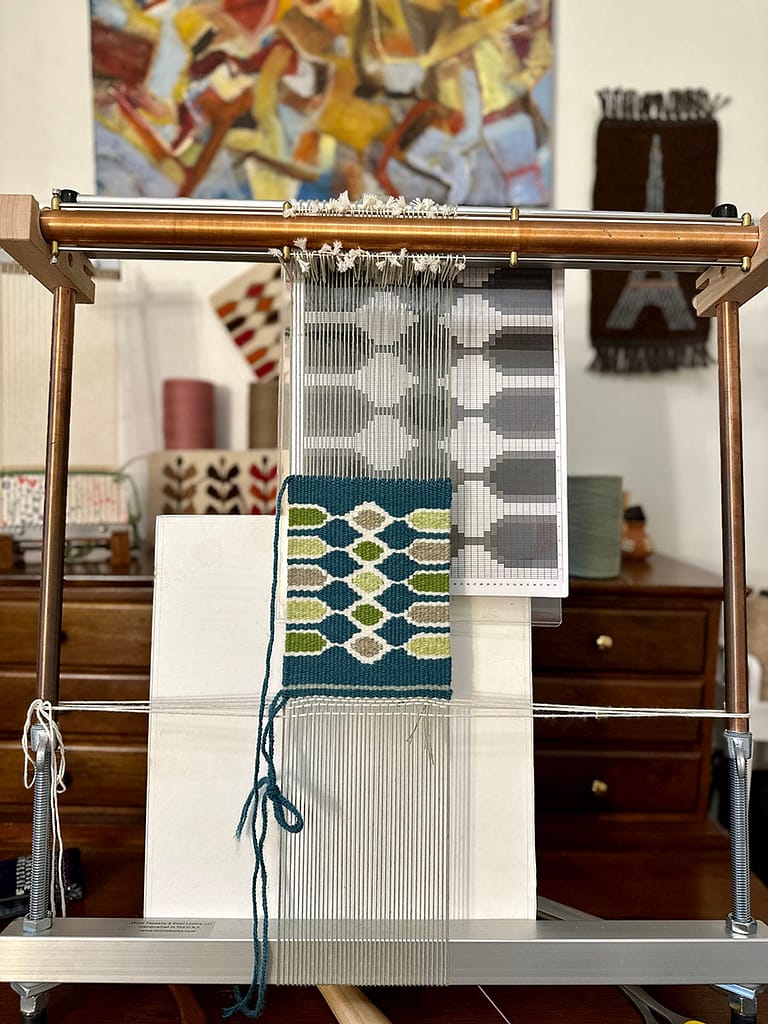
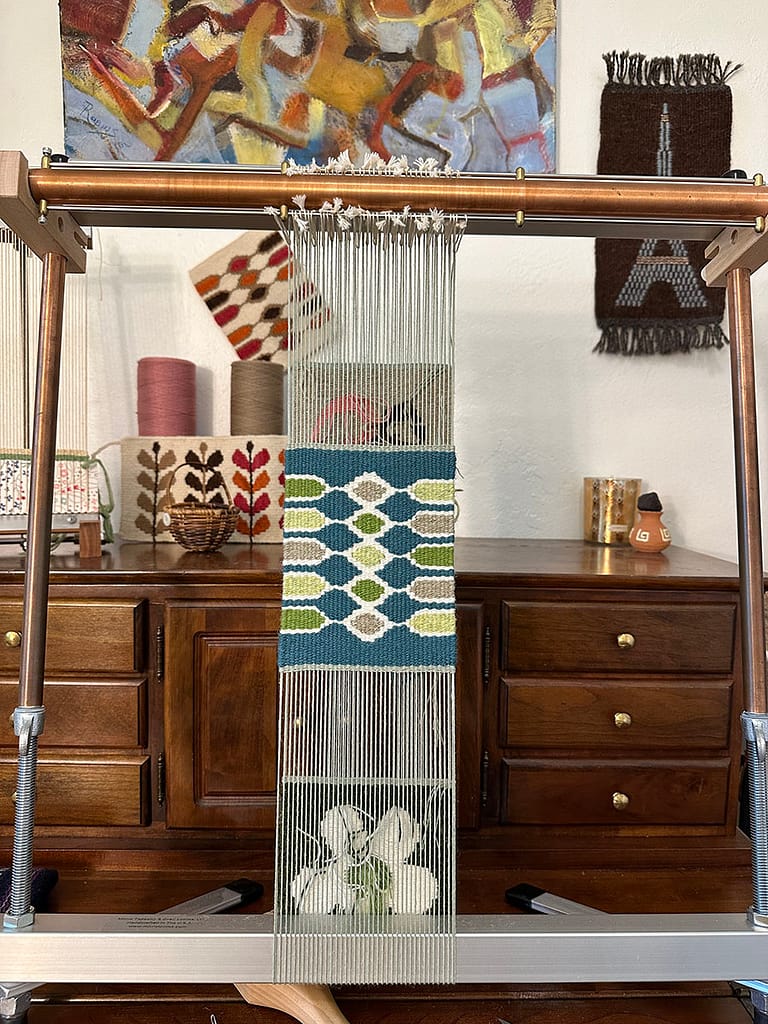
To continue weaving another piece, move down the piece you have just woven as shown in photo 9, allowing sufficient warp spacing, and start again from the ordering code for the new piece.
FYI: See the following article for more information on tailing processes:
下端のヘッダーの織り順を、トワイニング技法の後に6段平織した場合は、上端のヘッダーは、6段平織し(写真1)、トワイニング技法(写真2~7)で織ります。
私は通常、上端側のヘッダーでは、6段織るためのタテ糸(ワープ糸)とトワイニング織りするためのタテ糸(ワープ糸)を分けて織ります。
ヘッダーを織り終え、テールの処理も完了したら、オーダリングコードと屑糸をほどきます(写真8)。
続けて別のウィービングを織る場合には、織ったばかりのウィービングを下に移動(写真9)させ、十分なワープの間隔をとったあとに、再度、オーダリングコードの取り付けから始めます。
ご参考:テール処理については、以下の記事で詳細に紹介しておりますので、参考にしてください。
2. Taking down the weaving and cut the excess yarn | ルームからウィービングを降ろし、余分なタテ糸とヨコ糸はカットする
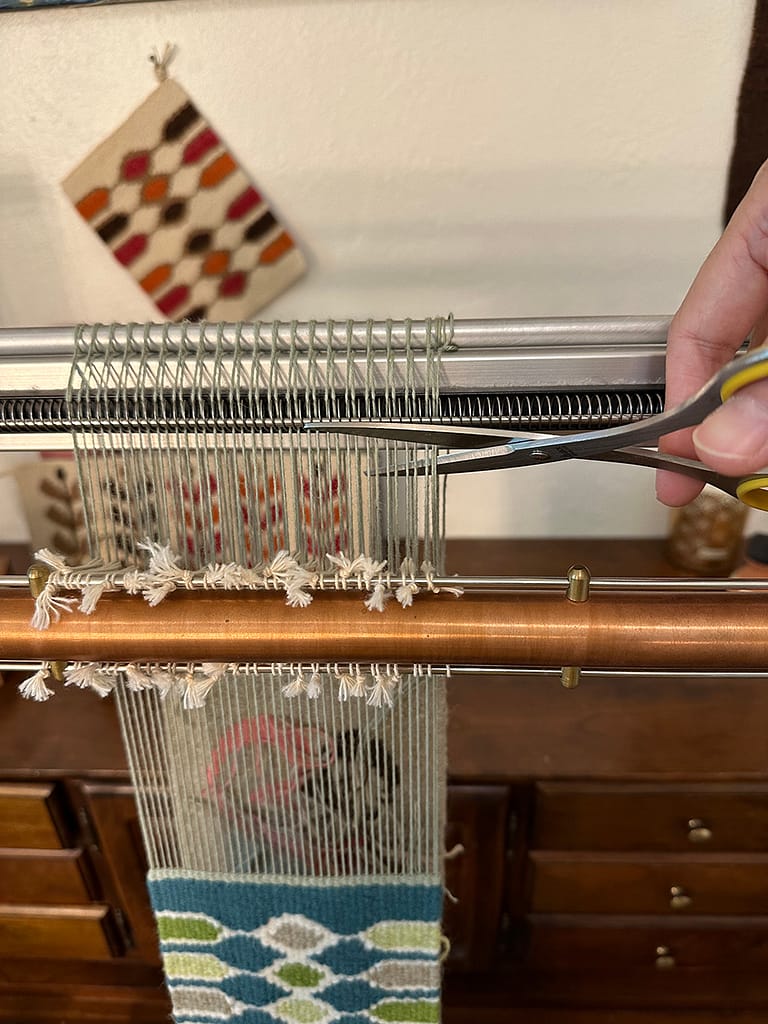
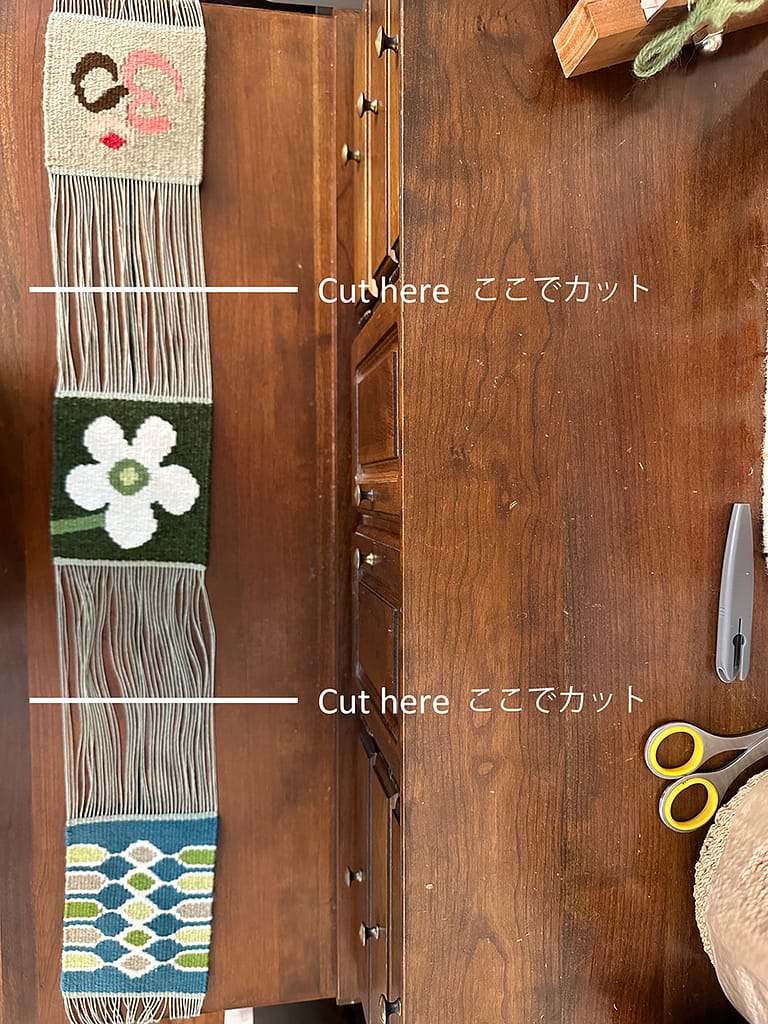
Photos 1 through 3: After all pieces have been woven, unwind both the ordering cord and waste yarn, then take the finished pieces down from the loom. I use scissors to cut at the top edge of the warp.
Photo 4: Do not cut the warp yarn so much. It is easier to make fringes if you leave the warp longer.
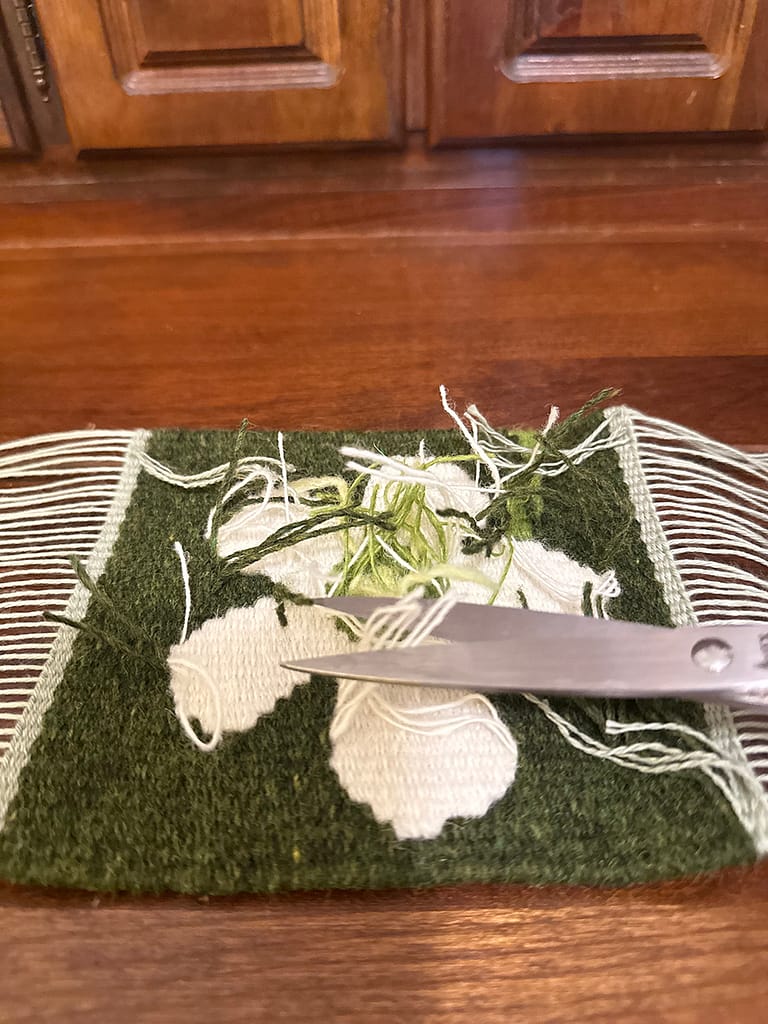
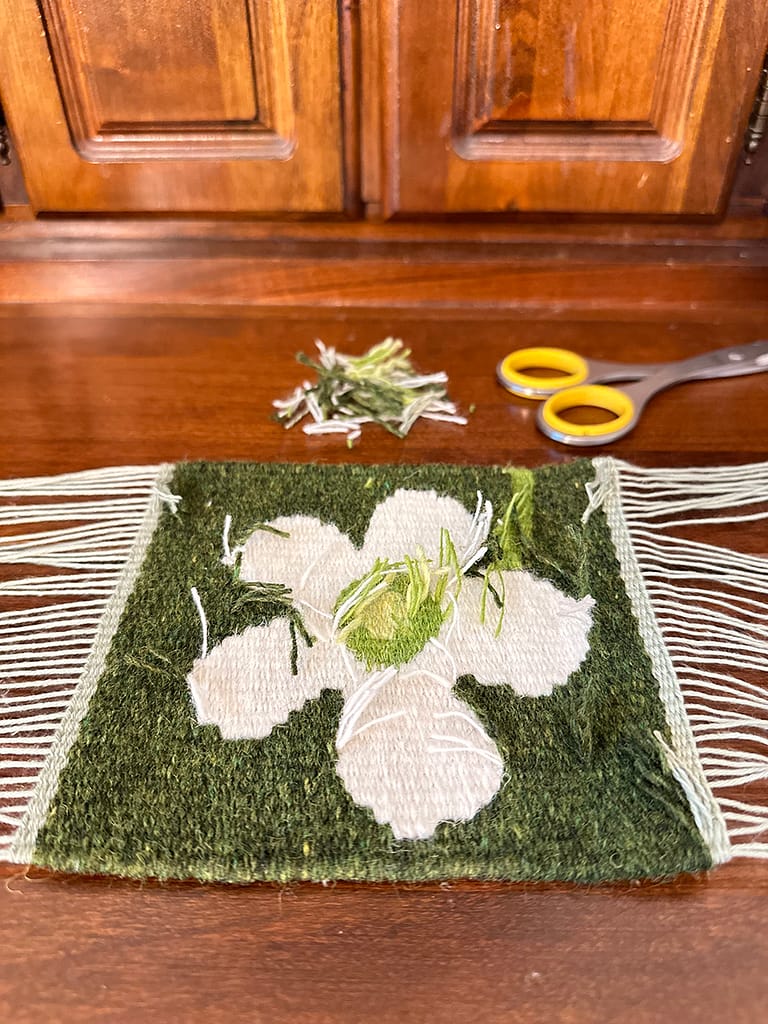
Photos 5 and 6: Cut the excess weft yarn on the back. I would leave about a half inch for the weft yarn on the back side just in case it needs to be reworked later.
写真1~3:すべてのウィービングを織り終わったら、オーダリングコードと屑糸をほどき、ルームからウィービングを降ろします。ワープの上端をハサミでカットします。
写真4:ワープ(タテ糸)は、長めに残しておくと、フリンジが作りやすくなります。
写真5と6:裏側の余分なヨコ糸をカットします。あとで手直しが必要になることもあるかもしれないので、念のため、1センチほど残しておきます。
3. Making the fringe | フリンジを作成
Once the back side is a little squeaky clean, you can start making the fringe with the back side up.
The video shows my favorite procedure for making fringe.
裏側がすこしきれいになったら、そのまま裏側を上にして、フリンジを作り始めます。
ビデオでは、私が気に入っているフリンジ作りの手順を紹介しています。
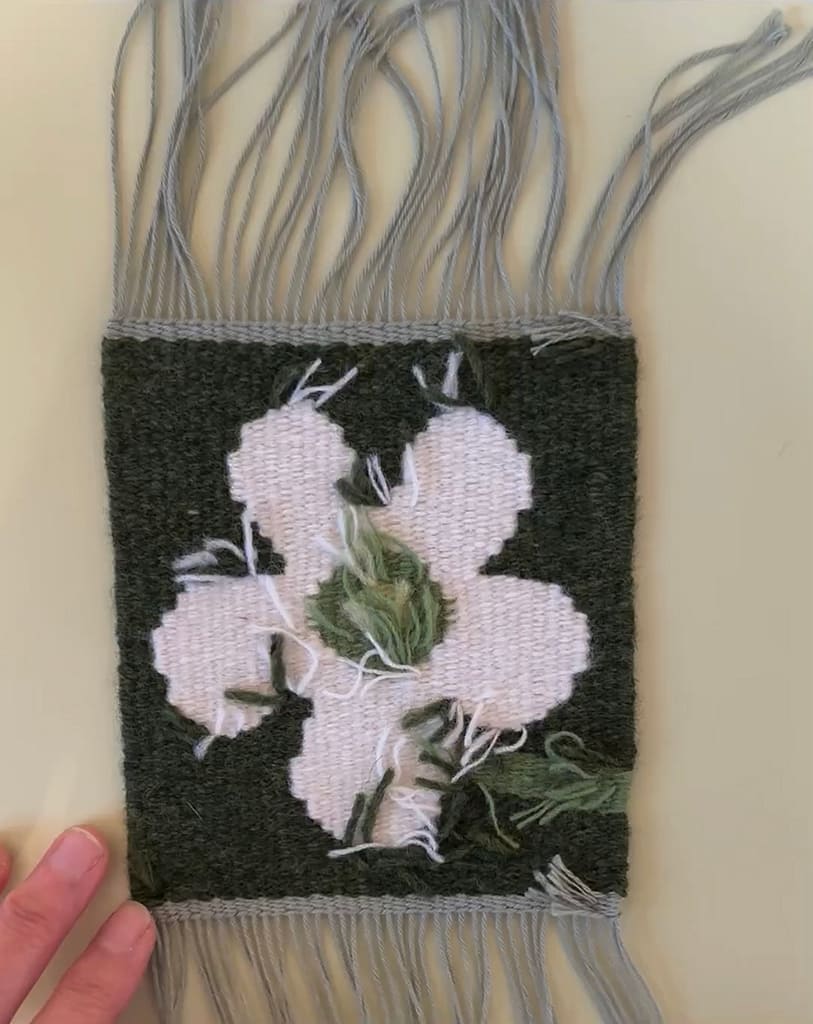
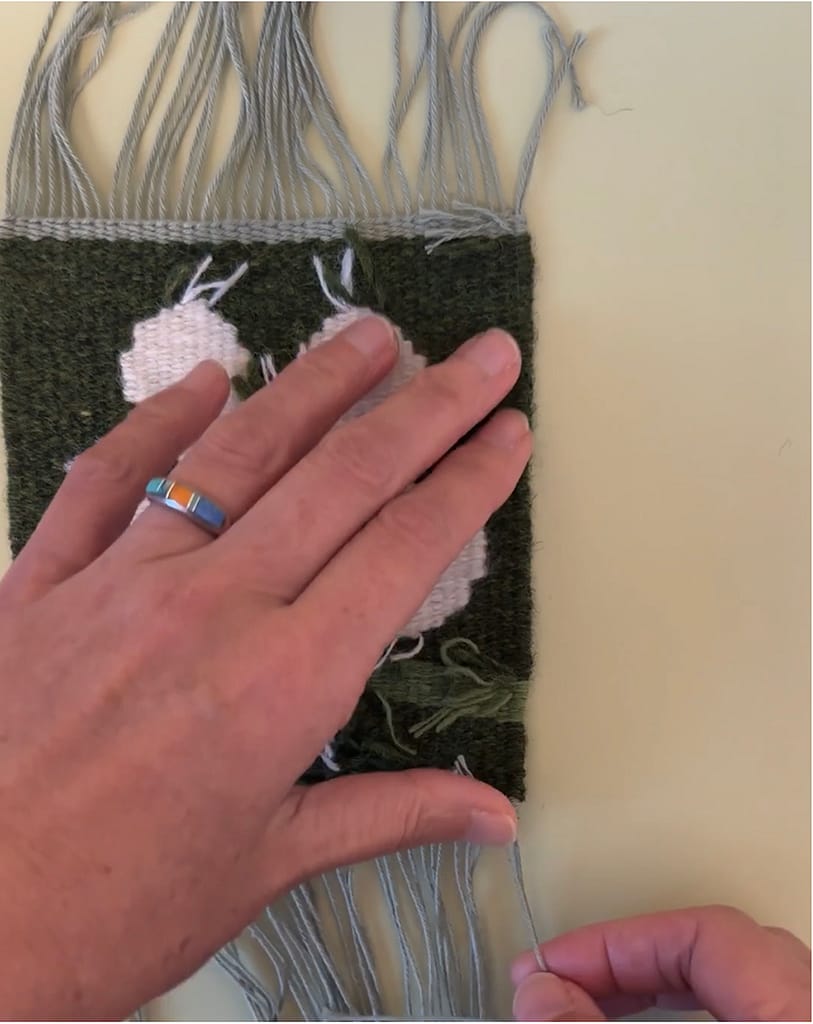
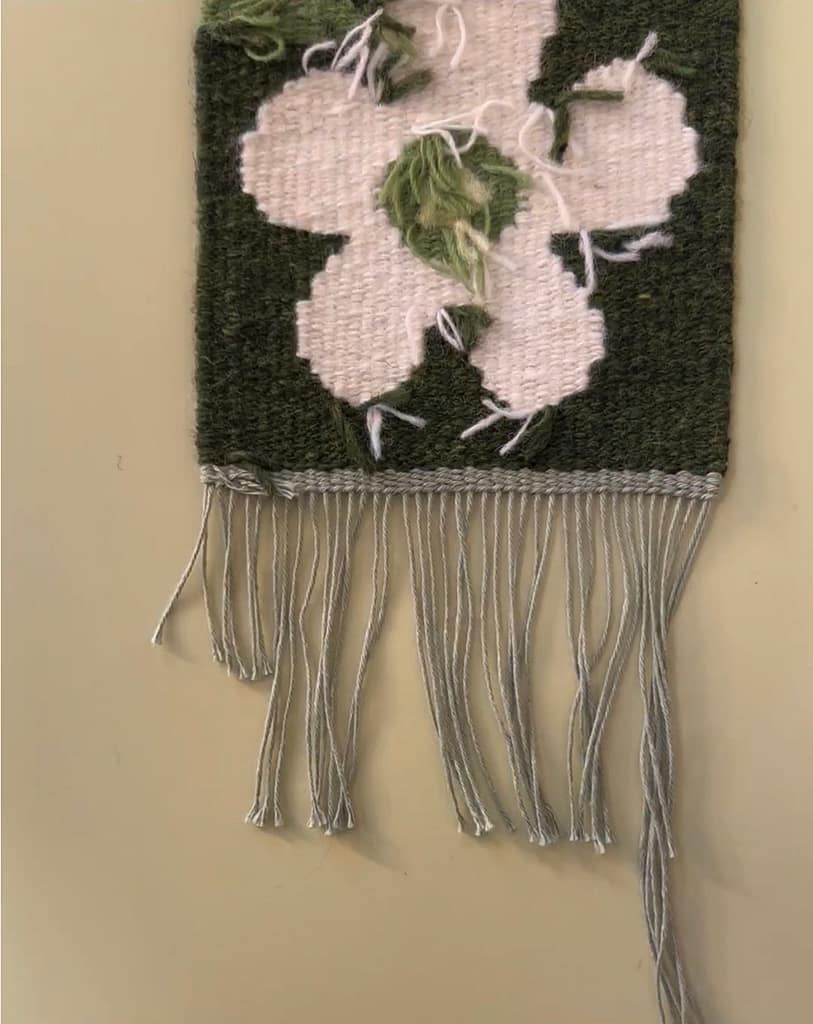
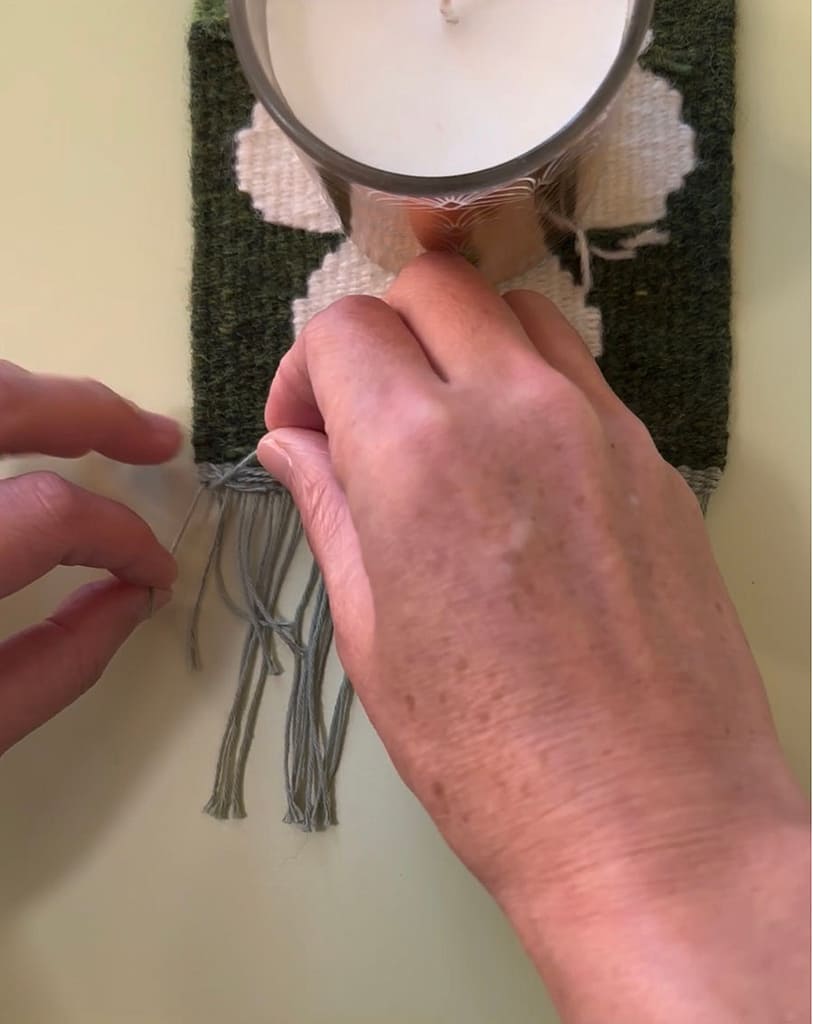
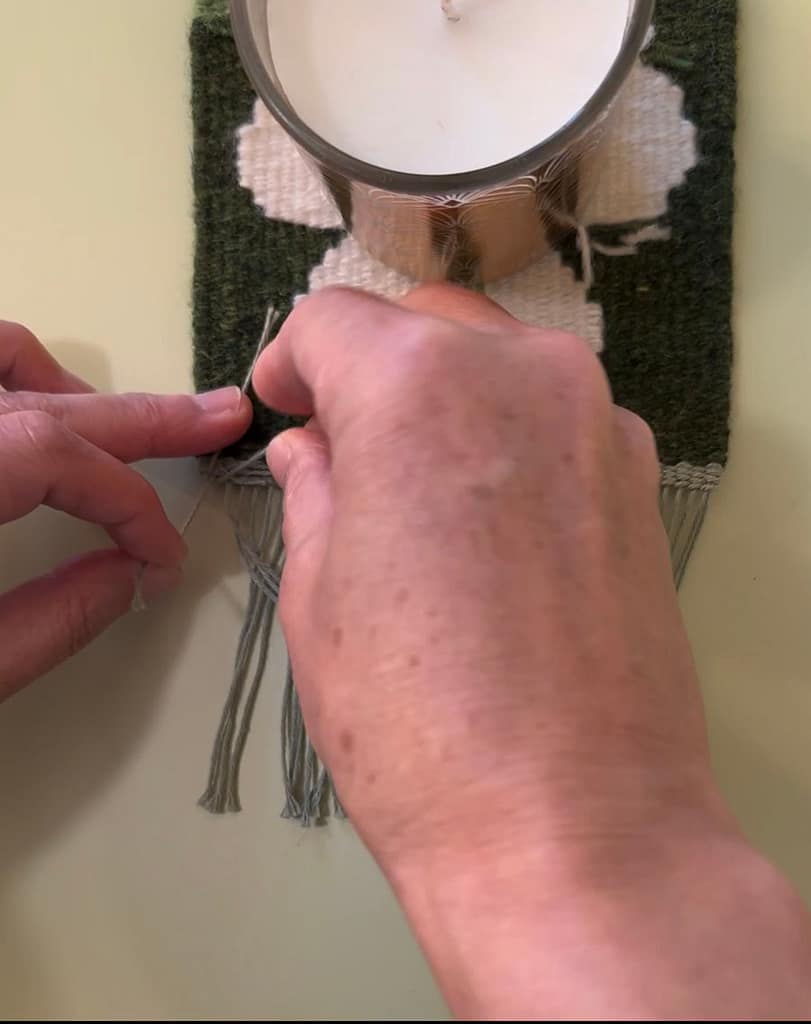

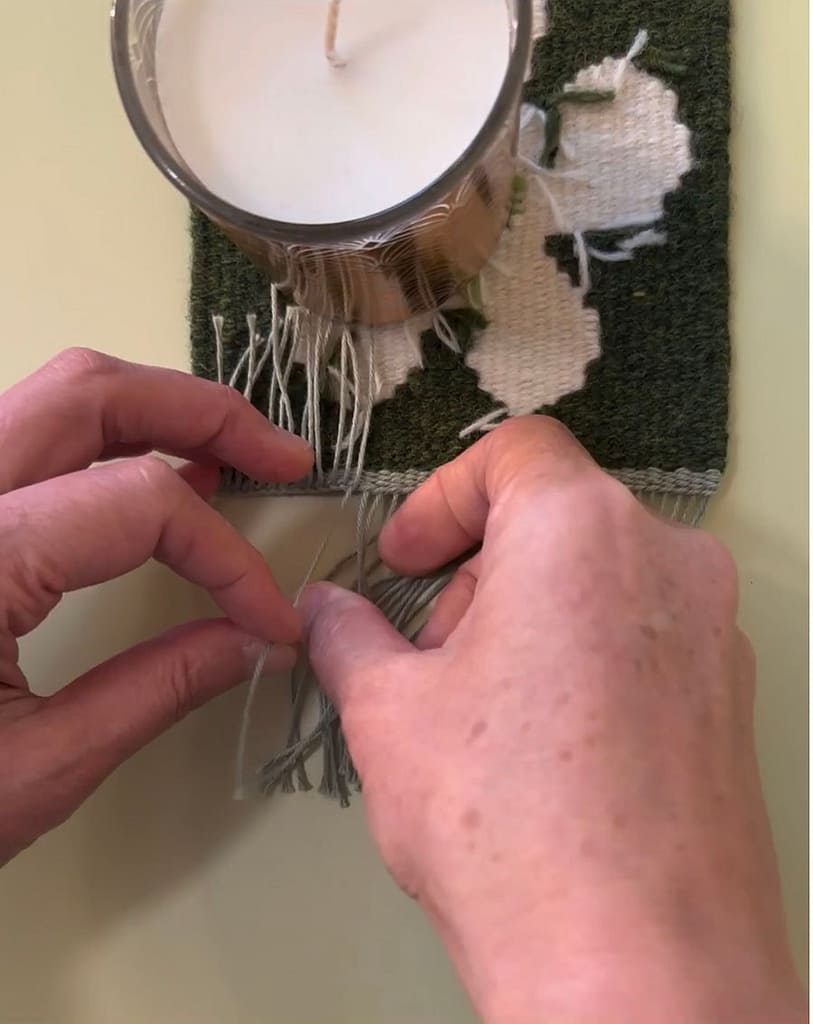

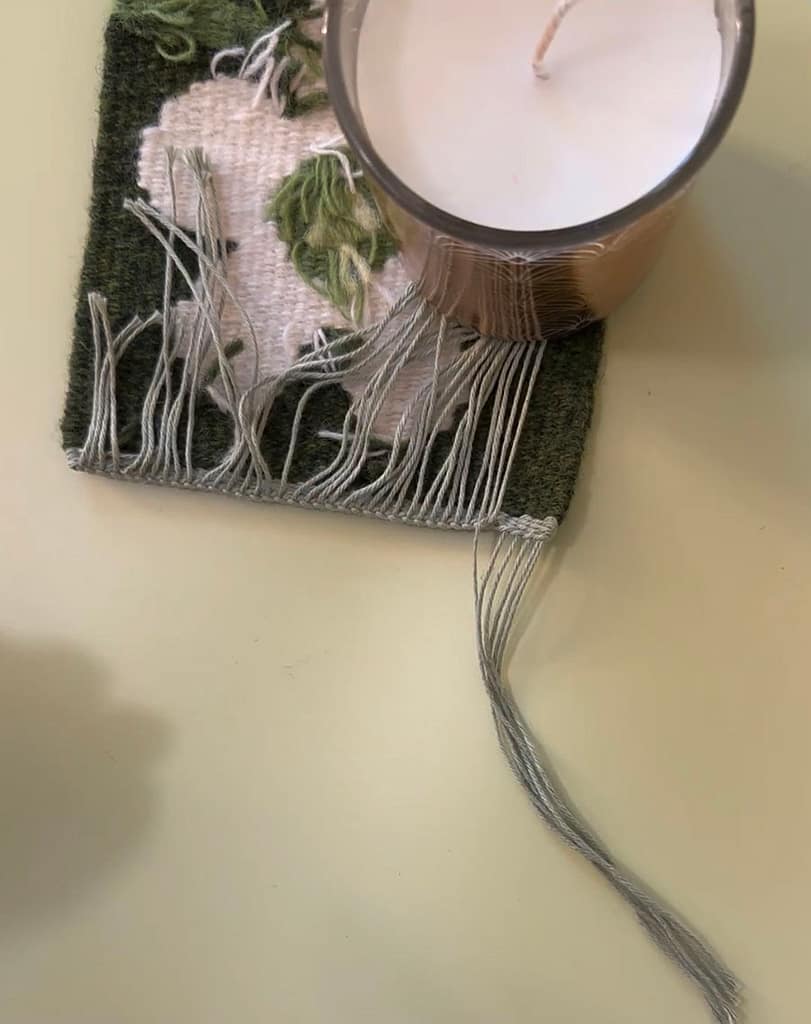
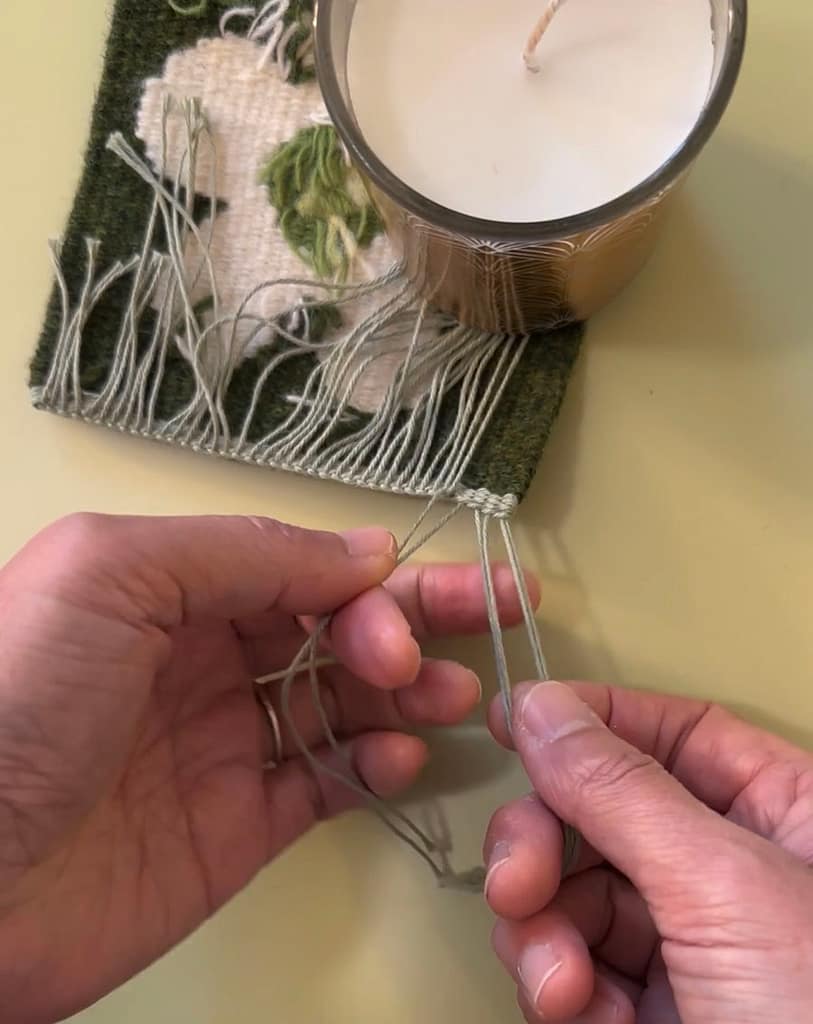
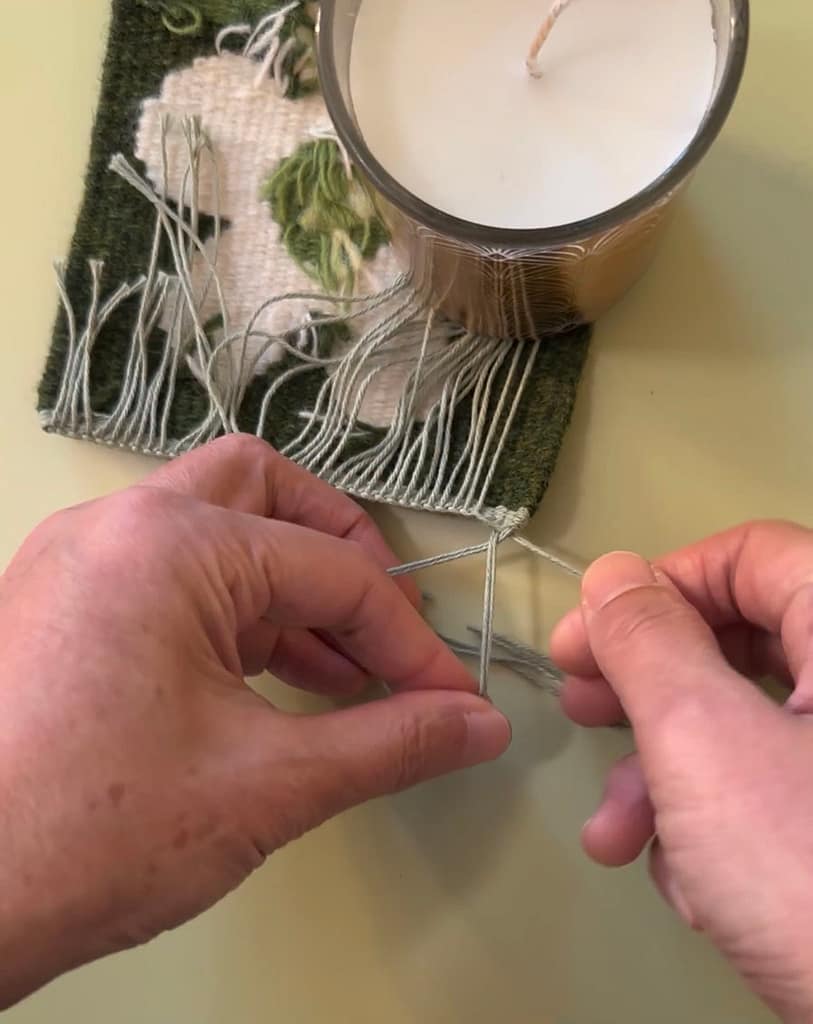
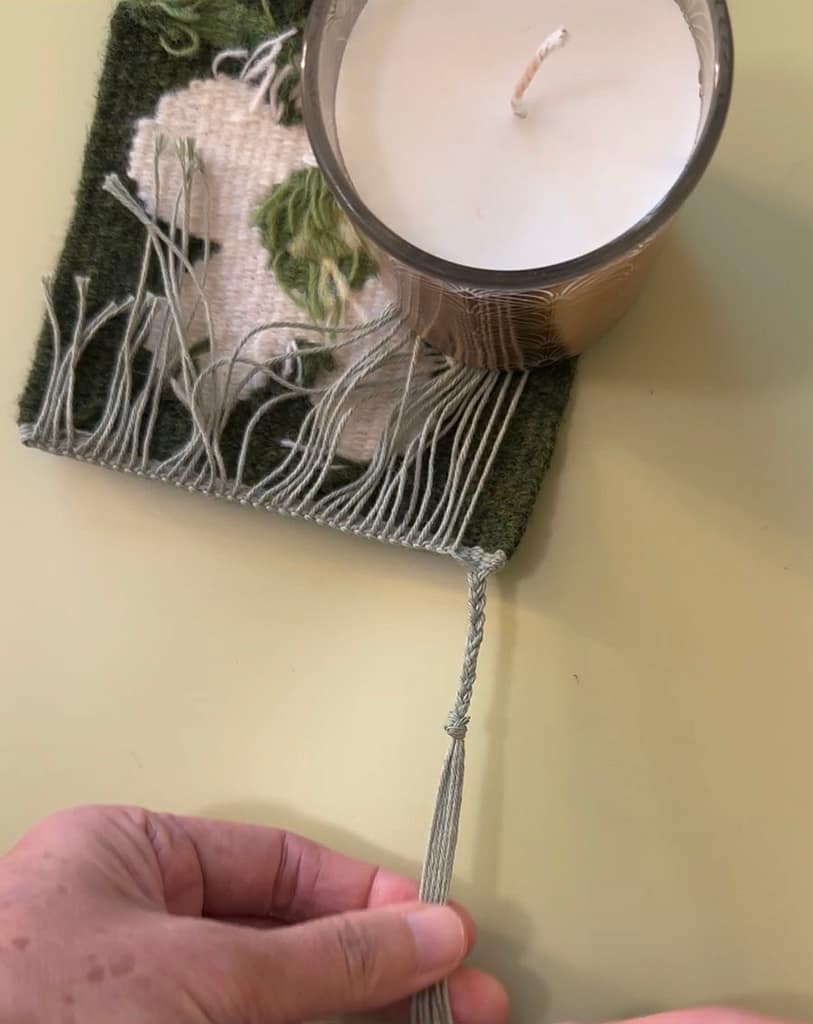
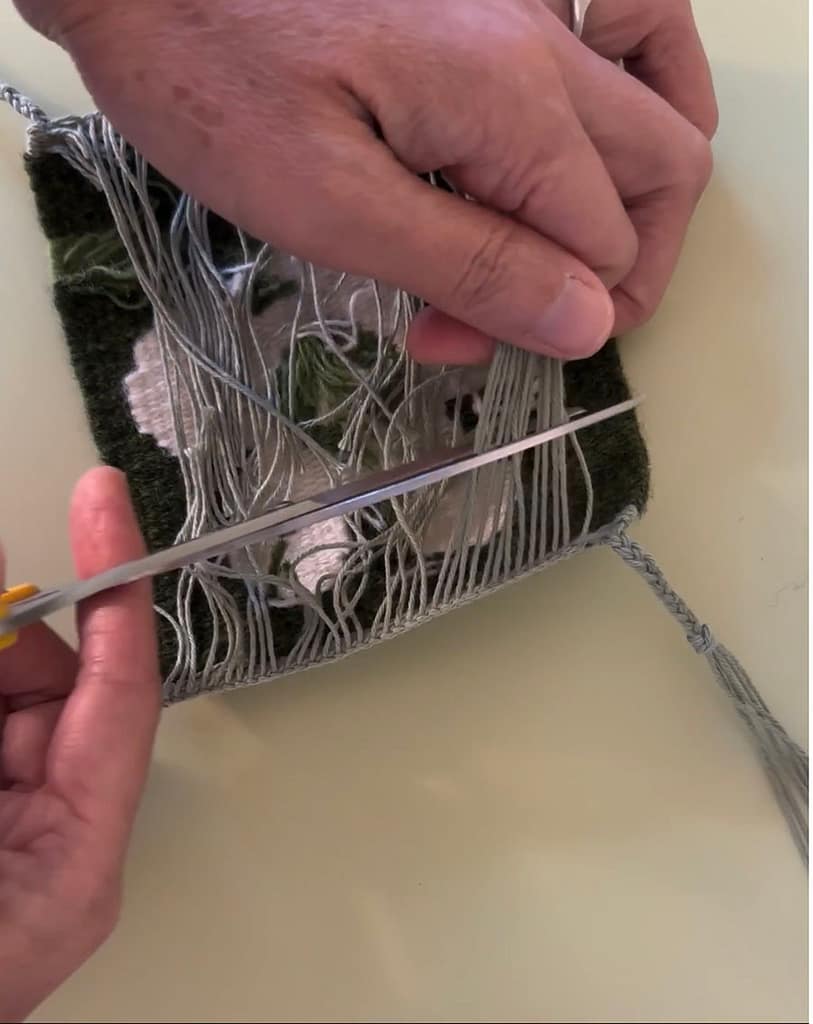
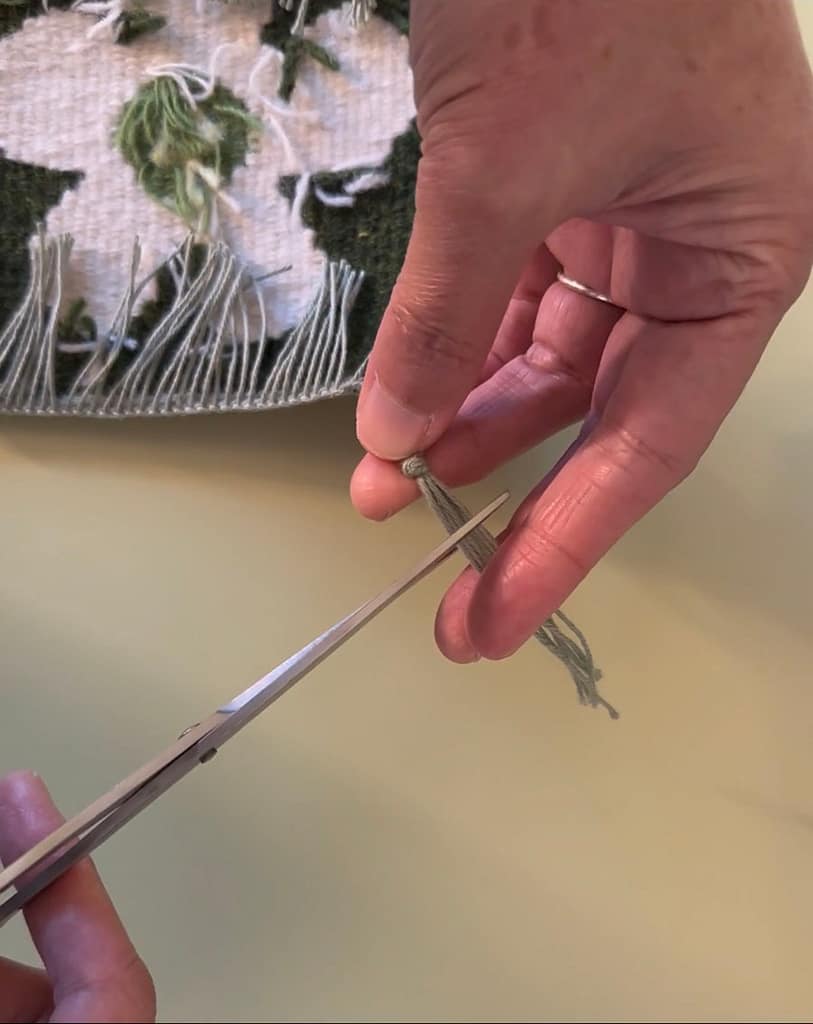
Photos 1-12 are screenshots showing the key points of the procedure.
Before starting to weave the warp, in photos 2 and 3, the six warps on the right side are lengthened to make it easier to braid at the end.
For weaving the warp, see enlarged images next to photos 5 and 6.
The warp is woven as follows:
- Pinch the first warp and the second warp from the left, place the first warp under the second warp, and pull the first warp toward the body. The second warp is still facing down.
- Next, pick up the second and third warps, place the second warp under the third warp, and pull the second warp toward the body. The third warp is still facing down.
- Repeat this procedure.
When the six threads of warp on the right side are left, make three bundles and braid them together.
If the warp on the back side is too long, cut it off leaving about 1 inch.
写真の1~12は、手順の要点をスクリーンショットしたものです。
ワープを編み始める前に、写真2と3では、最後に三つ編みを編みやすいように、右側の6本のワープを長くしています。
ワープの編み方については、写真5と6の隣にある拡大写真を参照ください。
以下の手順で編んでいます:
- 一番左のワープと二番目のワープをつまみ、二番目のワープの下に一番目のワープをくぐらせて、一番目のワープを本体側に引っ張ります。二番目のワープは、まだ下向きです。
- 次に二番目のワープと三番目のワープをつまみ、三番目のワープの下に二番目のワープをくぐらせて、二番目のワープを本体側に引っ張ります。三番目のワープは、まだ下向きです。
- この手順を繰り返します。
右側のワープが6本残ったら、3つの束にして、三つ編みをしていきます。
裏側のワープが長い場合には、2~3センチくらいを残してカットします。
4. Sewing the edges | 端を縫う
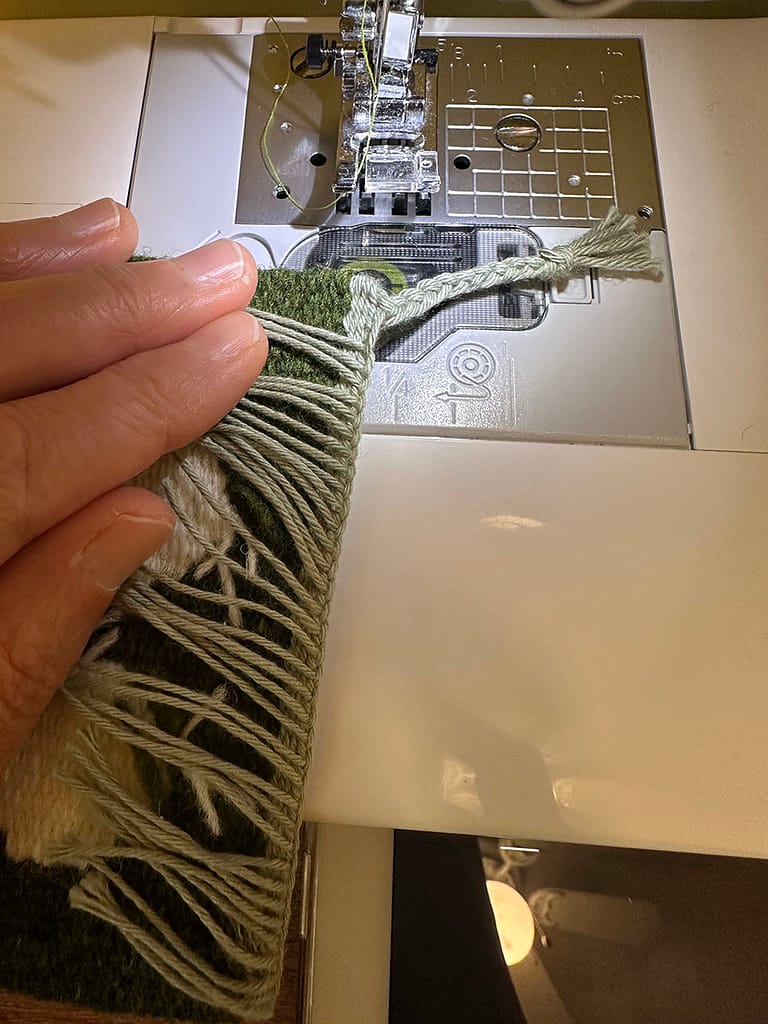
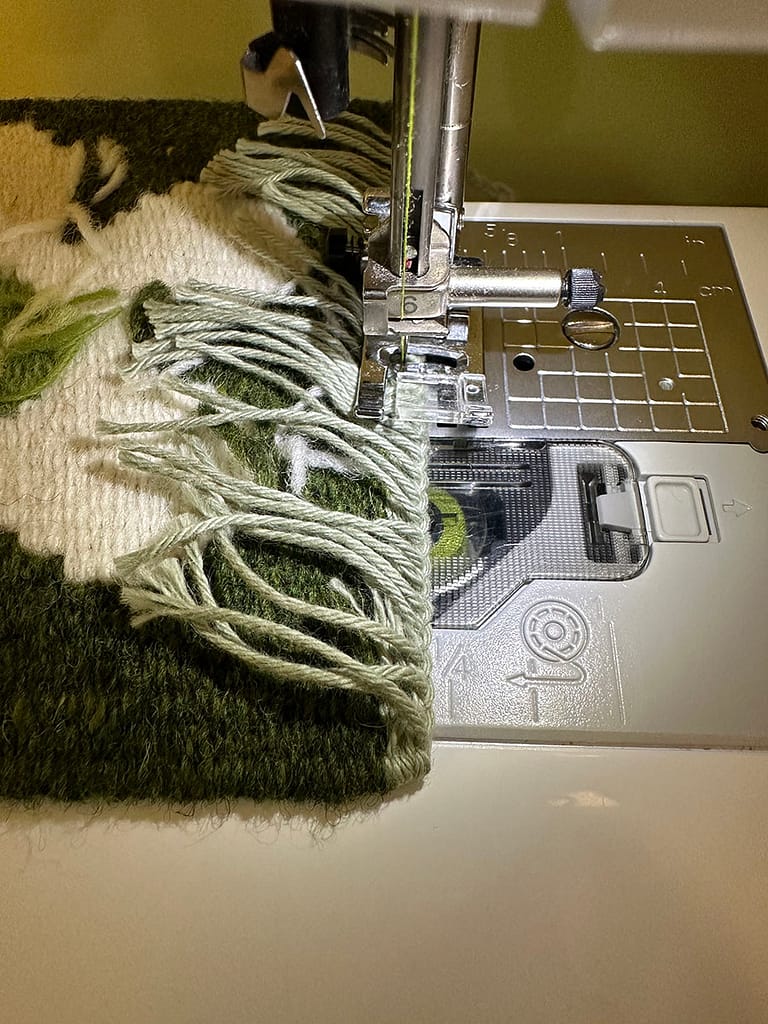
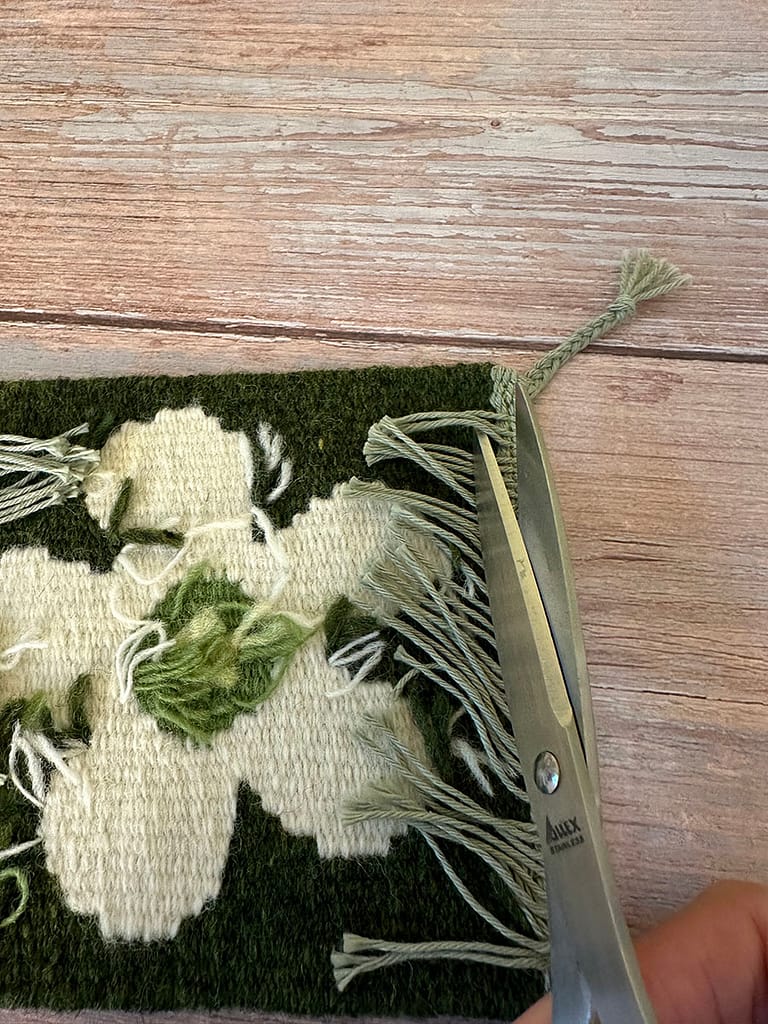
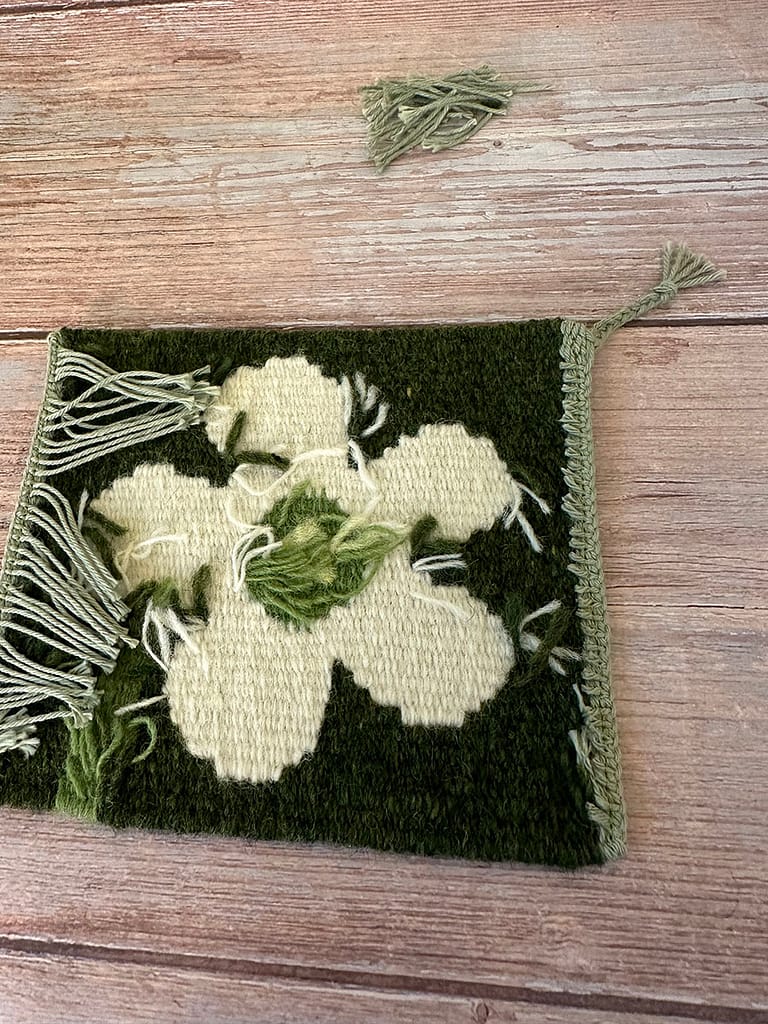
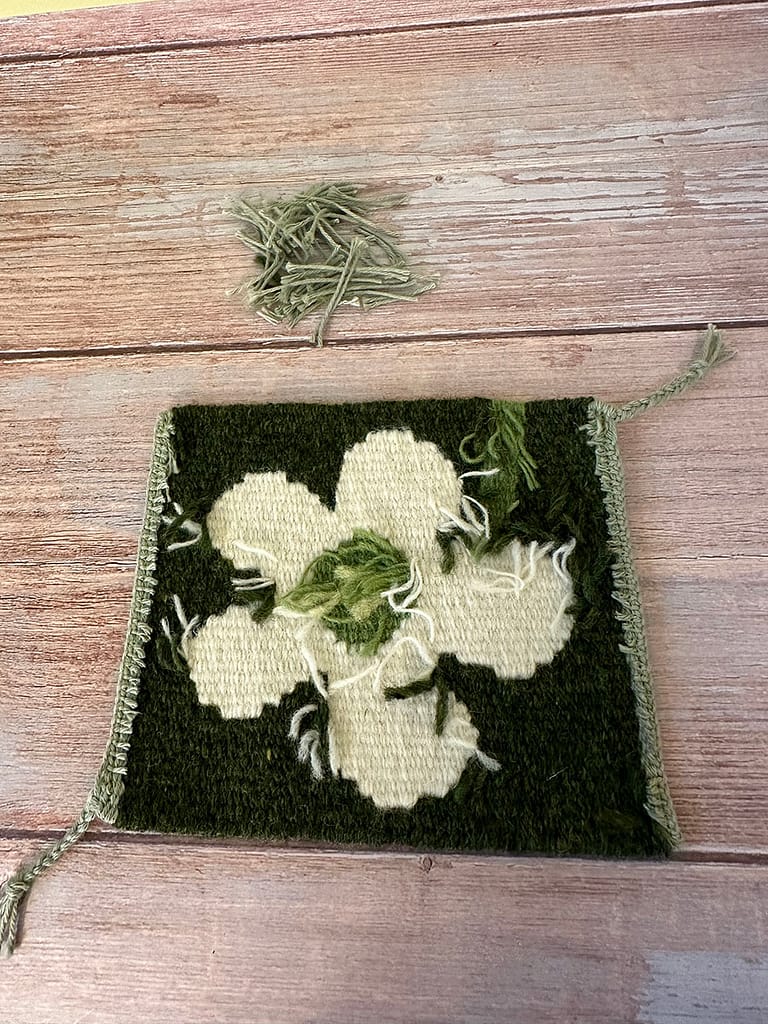
Photos 1 and 2: I recommend you sew the edges with a sewing machine for a clean finish.
Photos 3 through 5: After sewing the edges, cut the excess warp.
写真1と2:ミシンで端を縫うときれいに仕上がります。
写真3~5:端を縫ったあと、余分なワープをカットします。
5. Ironing | アイロンをかける
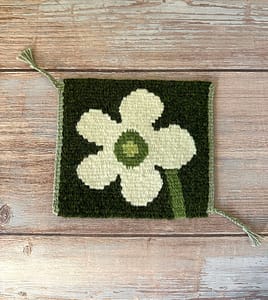
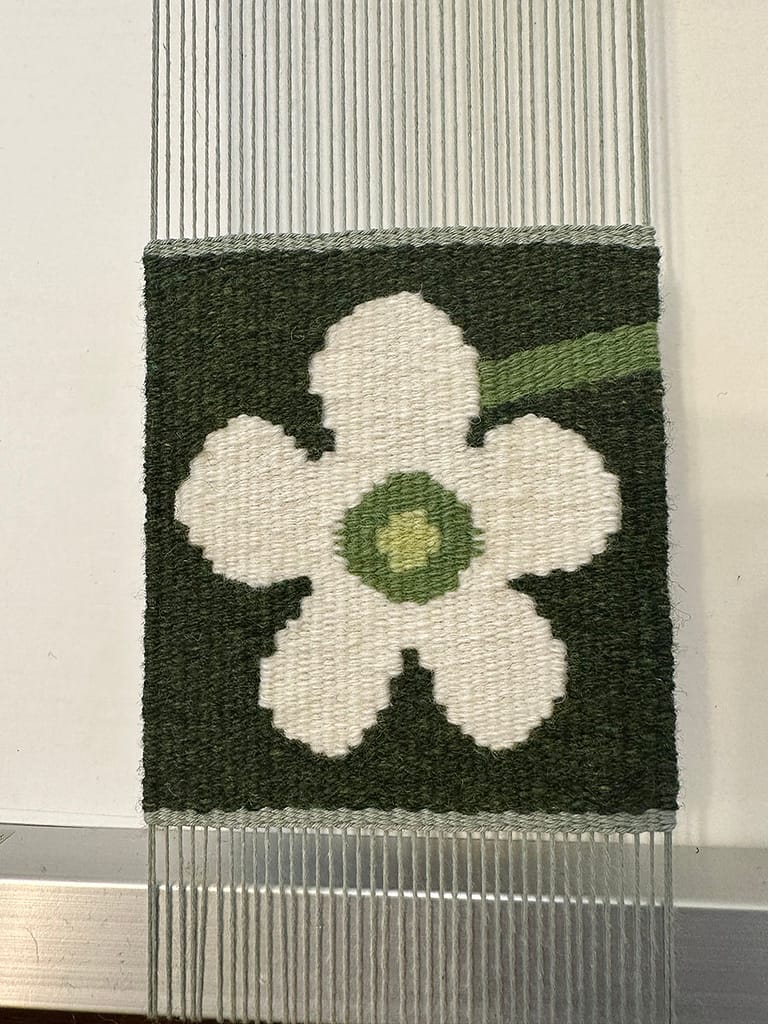
I recommend you iron the finished pieces once so that the excess yarn on the back side does not stick outward.
If there is more excess yarn on the back side, cut it off. I often leave each excess yarn about a half inch.
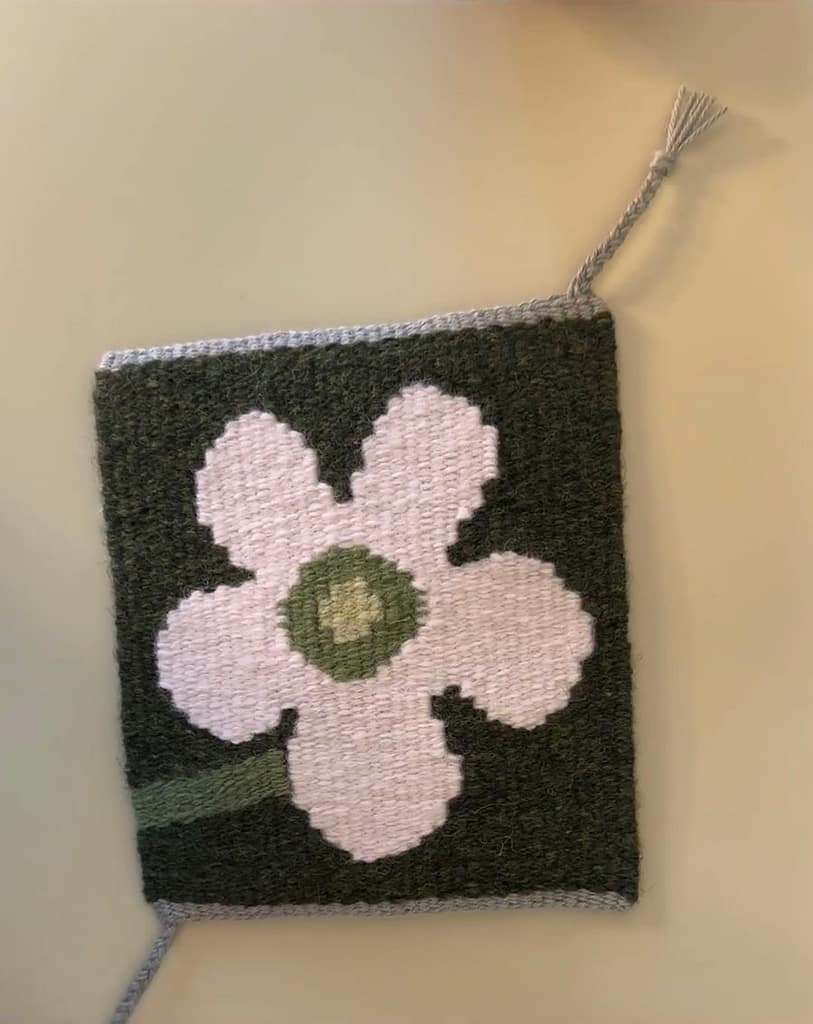
The pieces are now complete!
Thank you for reading to the end!
裏側の余分なヨコ糸が外側に出ないように、出来上がった作品に一度アイロンがけすることをお勧めします。
裏側にまだ余分なヨコ糸がある場合は、カットします。私は裏側の余分なヨコ糸を1センチほど残しておくことが多いです。
これで完成です!
最後まで読んでいただき、ありがとうございます。