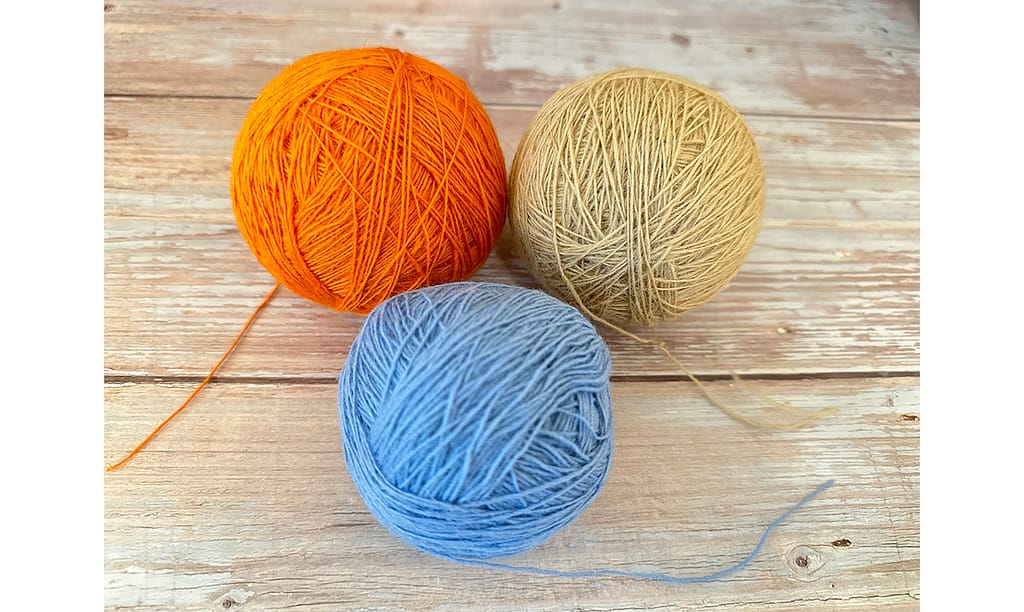
When using fine weft yarns, you may have to make several strands to weave.
I usually use the following two types of weft:
- Harrisville Highland Wool Yarn
- Klippan FARO Wool Yarn
I love both because of the wide selection of colors.
The Harrisville Highland Wool Yarn is sold as 2-ply twisted with 2 single yarn threads, and it is just the right thickness for my projects, so I use it as is.
The Klippan FARO Wool Yarn is still a thin yarn, so I use it in 3 strands to make it as thick as Harrisville Highland.
Here is the method I usually use to make 3 strands of this Klippan FARO Wool Yarn. It is very primitive.
You will need weft, a plastic bag, two bobbins and scissors.
Watch the following two-minute YouTube video first.
細いヨコ糸を使う場合、いくつかの束を作って織ることがあると思います。
私が普段使うヨコ糸は、以下の二種類です。
- Harrisville Highland Wool Yarn
- Klippan FARO Wool Yarn
どちらもカラーバリエーションが豊富で気に入っています。
Harrisville Highland Wool Yarn の方は、すでに2本の糸がねじられている状態で売られていて、私のプロジェクトにはちょうどいい太さなので、そのまま使います。
Klippan FARO Wool Yarn の方は、細い糸のままなので、Harrisville Highland と同等の太さにするために、3束にして使っています。
この Klippan FARO Wool Yarn を3束にするために、私が普段行う方法を紹介します。とっても原始的です。
必要なものは、ヨコ糸、ビニール袋、ボビン2本とハサミです。
以下の約2分の YouTube ビデオをまずはご覧ください。
I have taken screen shots of the key points and will explain each of them in the following sections.
ポイントとなる箇所のスクリーンショットを撮りましたので、以下のセクションでそれぞれ説明していきます。
1. For the first strand | 1束目
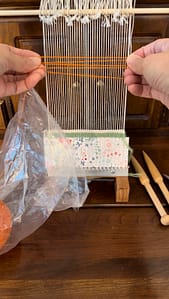
Put the weft in a plastic bag and measure the length of weft needed. This will be the first strand.
The video shows how to take the amount of 30 picks of the weft.
See also the following article for how to measure:
ヨコ糸は、ビニール袋の中にいれ、必要なヨコ糸の長さを測ります。これが1束目になります。
ビデオでは、30段分をとるやり方を紹介しています。
測り方は、以下の記事も参考にしてください。
2. For the second strand | 2束目
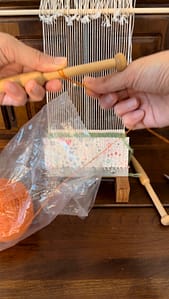
Once the length of the first strand for 30 picks is confirmed, fold the weft there and wind the first and second strands together on one of the bobbins.
1束目の長さ(30段分)が確認できたら、そこでヨコ糸を折り曲げ、1束目と2束目を一緒にボビンに巻いていきます。
3. For the third strand | 3束目
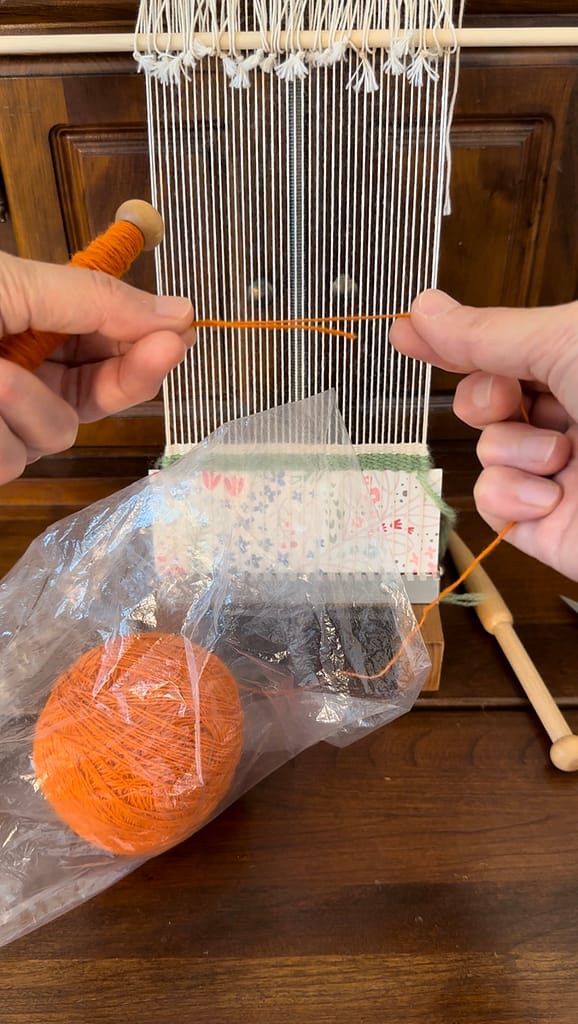
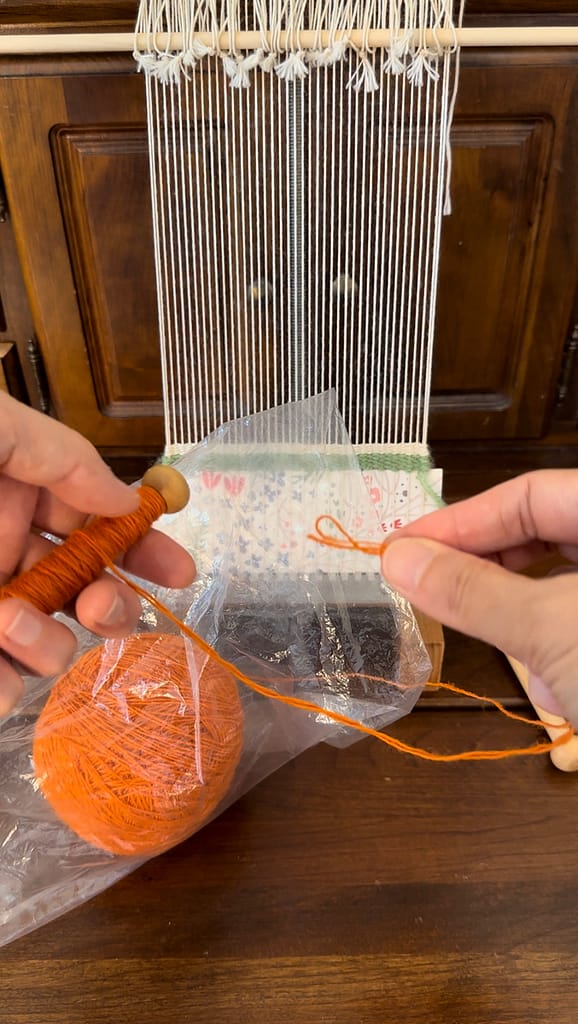
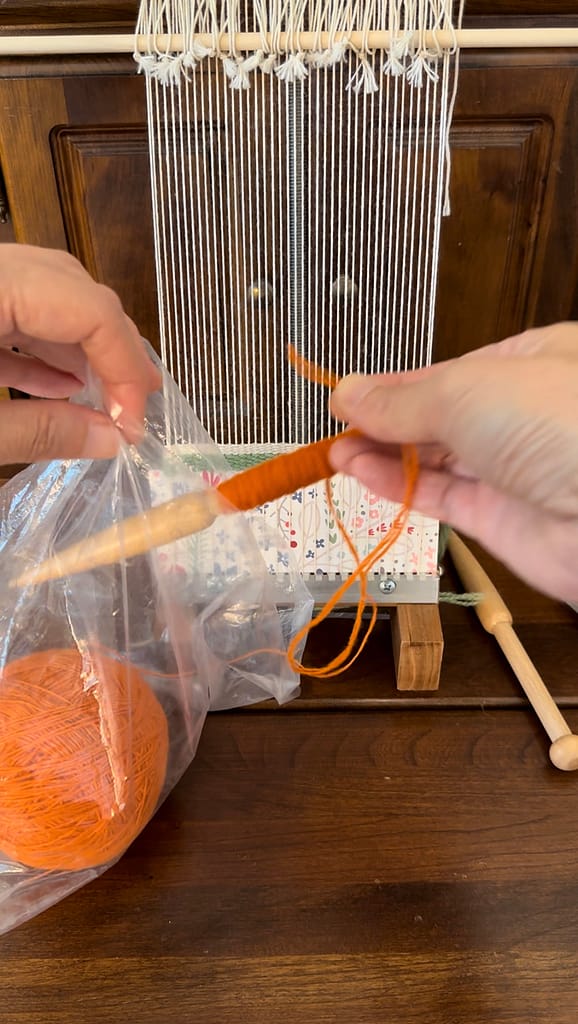
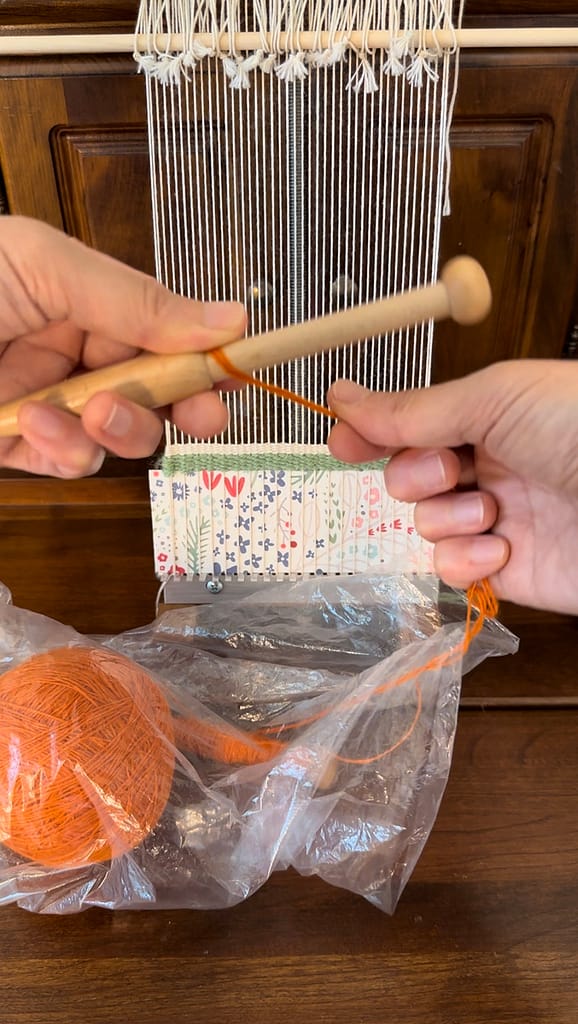
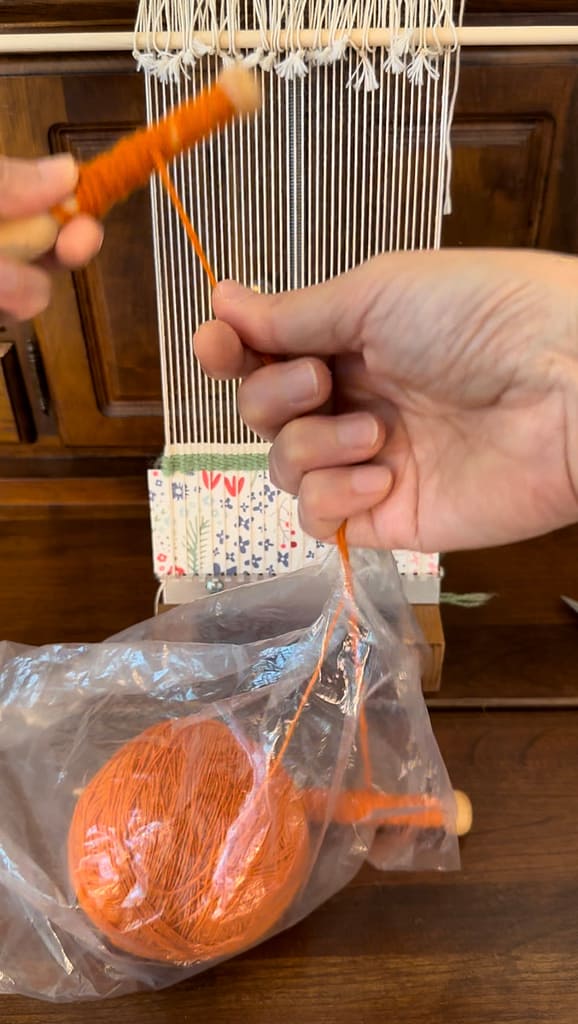
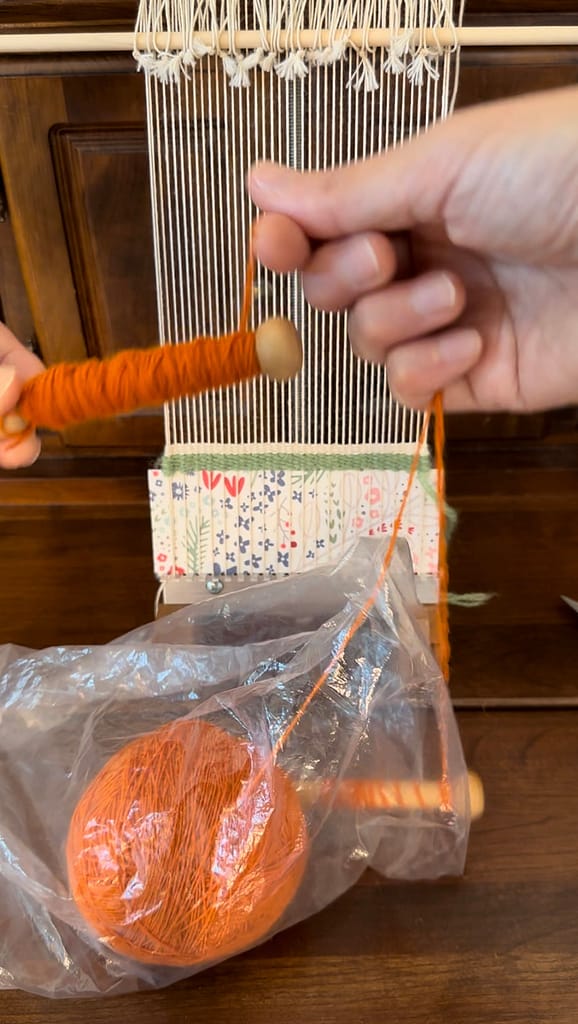
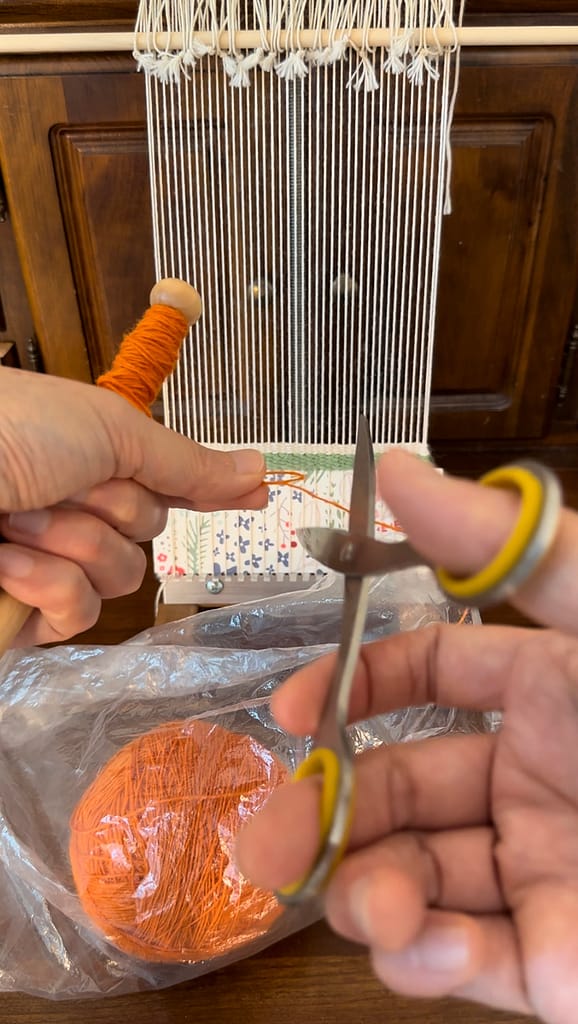
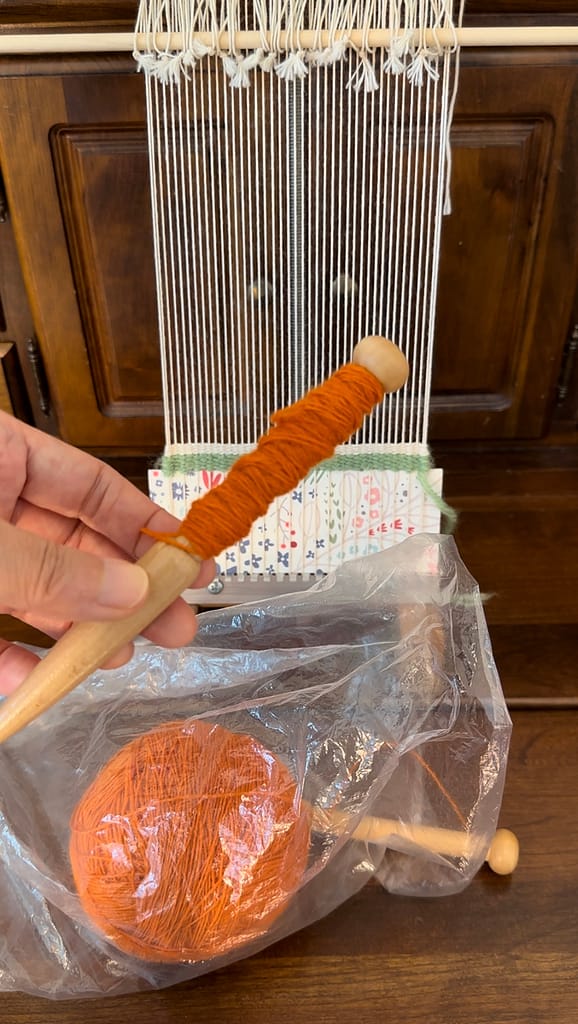
Screenshots 1-4: When you reach the end of the second strand, fold the weft again and use another bobbin to wind the third strand together. Put the first bobbin together into the plastic bag containing the weft.
Screenshots 5 and 6: In the plastic bag, the weft and the first bobbin rotate while the third strand is wound together on another bobbin.
Screenshot 7: When you reach the end point, cut there.
Screenshot 8: This completes the weft in 3 strands.
スクリーンショット1~4:2束目作りの終点まできたら、そこでまたヨコ糸を折り曲げ、もうひとつのボビンを使って、3束目を一緒に巻いていきます。2束巻かれた最初のボビンは、ヨコ糸が入っているビニール袋の中にいれます。
スクリーンショット5と6:ビニール袋の中で、ヨコ糸と最初のボビンが回転しながら、別のボビンに3束目が一緒に巻かれていきます。
スクリーンショット7:終点まできたら、カットします。
スクリーンショット8:これで3束になったヨコ糸が完成です。
The best number of strands varies from yarn to yarn and from project to project, so I recommend that you actually weave to see which quantity is best for you.
Thank you for reading to the end!
糸によって、また、プロジェクトによって、ベストな束数が異なりますので、実際に織ってみて、どの分量がよいか、確かめることをお勧めします。
最後まで読んでいただき、ありがとうございます。