When weaving with weft yarns of multiple colors, there may be a process of cutting and tailing the weft many times to switch colors. However, it can be tedious if you work on it frequently.
In such cases, though, it is on a case-by-case basis, if the weft yarn of the same color is to be used again in a place not too far apart, it may be evacuated to the back side without a tailing process, and when weaving again, you can bring it to the front side and start weaving.
The following items will be explained along with illustrations and photos:
複数の色のヨコ糸を使って織るとき、色の切り替えでテール処理を何度も行うときがあると思います。ですが、頻繁に作業する場合には、面倒なときもありますね。
そんな時には、ケースバイケースですが、もし、同じ色のヨコ糸がそれほど離れていない場所でまた使われる場合には、テール処理をせずに、裏側にいったん避難させておいて、また織るときに前側に持ってきて織り始めるという方法もあります。
以下にイラストと写真とともに説明していきます。
1. Explanation with a tulip sample | チューリップのサンプルで説明
Here I will use the tulip sample shown in the previous article “Mastering Plain and Tapestry Weaving with a Sample“.
ここでは、以前の記事「サンプルを使って平織りとタペストリー織りをマスターする」で紹介したチューリップのサンプルを使って説明します。


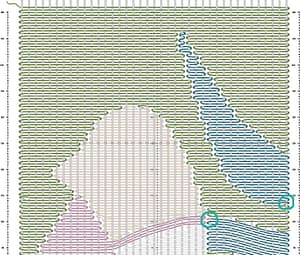
As you can see in the first illustration, in the design, the tailing processes are done where the end of the stem and the beginning of the leaf.
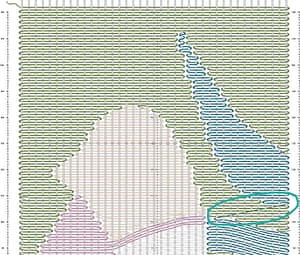
However, when actually woven, the end of the stem and the beginning of the leaf are connected on the back side, as shown in the second illustration.
最初のイラストでわかるように、デザイン上では、茎が終わった場所でテール処理をして、葉が始まる場所でテール処理をしています。
ですが、実際に織ったときは、二番目のイラストのように、茎の終点と葉の始点は裏側でつながっています。


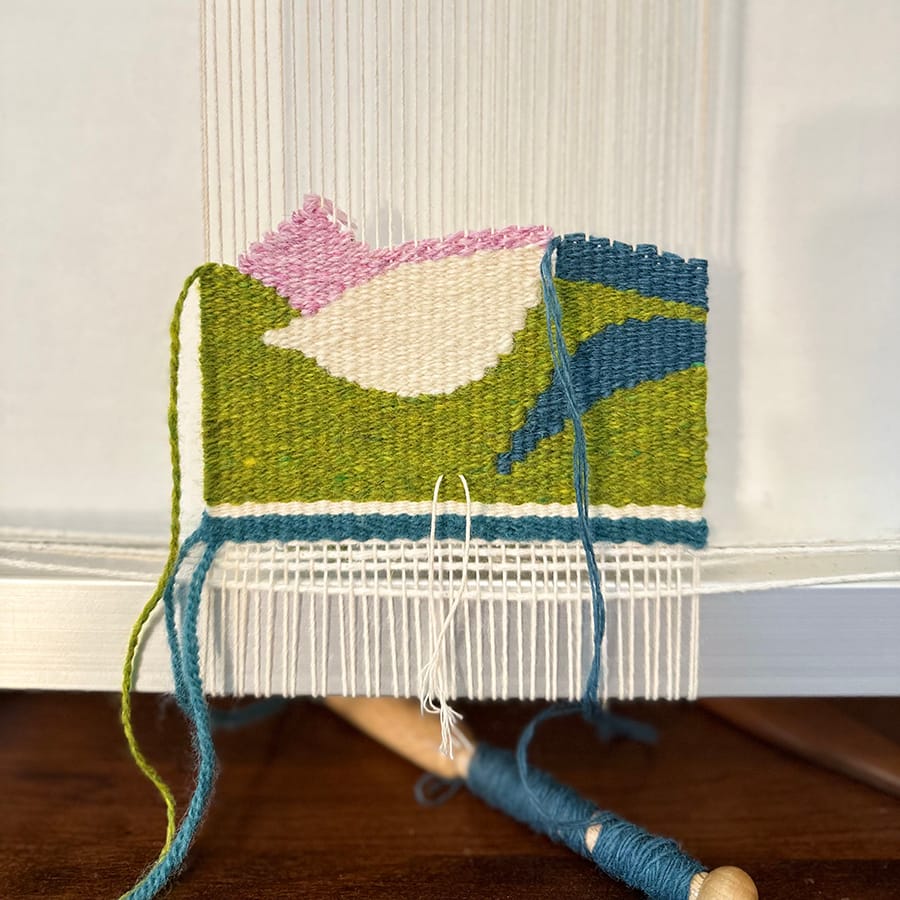
Photos 1-5 show the actual weaving process. The weft was once moved to the back side at the place where the stem was finished weaving. After that, when weaving the leaf on the right side, I brought the weft back to the front side and started weaving.
The stem and leaf were designed to use the same color weft, and the distance between them was not too far, so I was able to connect them on the back side without cutting them off each time.
写真1~5は、実際に織ったときの様子です。茎を織り終わった場所で、ヨコ糸をいったん裏側に退避させておきました。そのあと、右側の葉を織るときに、退避させたヨコ糸を前側に持ってきて、織り始めました。
茎も葉も同じ色のヨコ糸を使うデザインにし、距離もそう遠くなかったので、その都度切らずに、後ろでつなげて織ることができました。
2. Application to complex patterns | 複雑なパターンへの応用


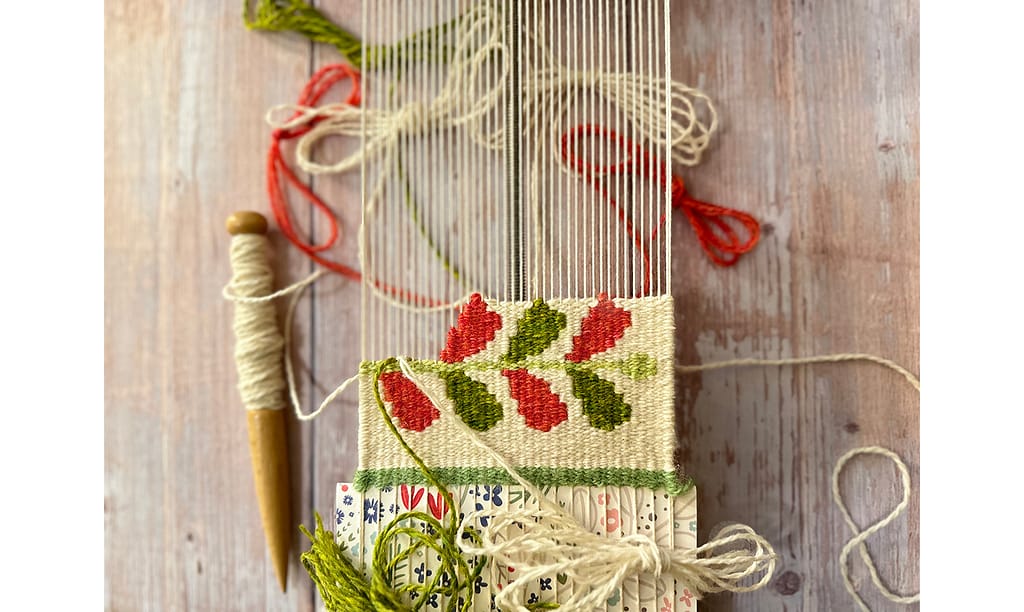
I would like to show another example. As shown in Photo 1, this design has a leaf pattern that is repeated multiple times.
You can do the tailing process after each green leaf and each orange leaf, but the way I often do is to connect them on the back side without cutting the weft threads for tailings.
In Photo 2, I marked the places that are connected on the back side with colored pencils.
In Photo 3, you can see the actual backside of the weaving.
もうひとつの例も紹介したいと思います。写真1のように、葉っぱのパターンが複数回繰り返されているデザインです。
緑の葉っぱ、オレンジの葉っぱをひとつひとつ織り終わるたびにテール処理をしてもよいですが、私がよくやる方法は、裏側でつなげて織ってしまいます。
写真2では、裏でつながっている部分を色鉛筆でマークしました。
写真3では、実際に裏側から見た状態です。
One note is that this method is not suitable if you want to cut all the tails on the back side later and show the same design as on the front side.
If you are willing to leave the tails on the back side, for example, if you sew a lining or put the weaving in a picture frame, you may not mind having the weft crossed on the back side.
In my case, sometimes I am too lazy to do the tailings, and sometimes I am not. I don’t think there is any one way that you absolutely have to do it, so find a way that you are comfortable with!
Thank you for reading to the end!
ひとつ注意したいのは、あとで裏側のテールを全部カットして、表側と同じデザインを見せたい場合には、この方法は向きません。
裏側にテールを残してもよい場合、例えば、裏地を縫い付けたり、ピクチャーフレームに入れたりする場合には、裏側でヨコ糸が交差していても気にならないかと思います。
私の場合、日によってテール処理が億劫だったり、億劫じゃなかったりします。絶対こうしなきゃだめ、というやり方はないと思いますので、やりやすい方法を見つけてみてくださいね。
最後まで読んでいただき、ありがとうございます。