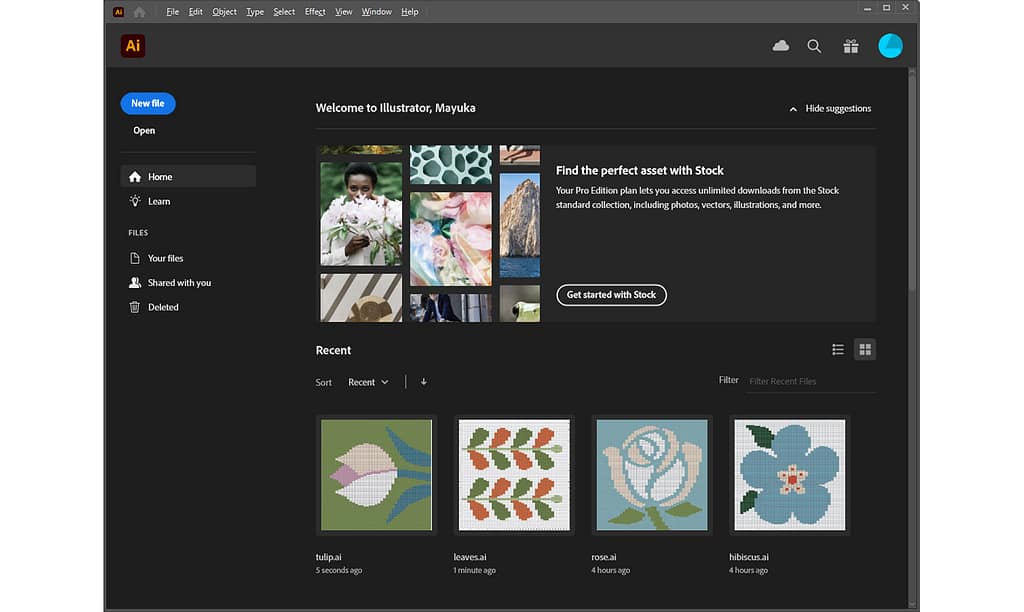
When I was thinking about weaving designs, I thought that if I used a grid (like a table) to design the weaving, I would not get lost in the weaving process. With a grid design, you can simulate where the weft will travel.
Adobe Illustrator is the software used to create digital illustrations; it is available on Mac and Windows computers.
The main reason I chose Illustrator as my weaving design tool is because it supports WYSIWYG (What You See Is What You Get). WYSIWYG means that you can edit while seeing the final result on the screen.
The key point is that Illustrator allows you to create a grid with almost exact aspect ratios, and you can check it on the screen and reproduce it very close to the actual work.
There are many useful functions other than WYSIWYG, and I would like to introduce various functions I use when designing weaving patterns.
First off, in this article, I will provide Illustrator basic information and basic operations:
私が、ウィービングのデザインを考えるときに、グリッド(表のようなもの)を使ってデザインをすると、織るときに迷いがないと思いました。グリッドのデザインがあると、ヨコ糸が通る場所をシミュレーションすることができます。
Adobe Illustrator(アドビイラストレーター)は、デジタルなイラストを描くときに使われるソフトウェアです。Mac または Windows コンピュータ上で利用できます。
私が、ウィービングのデザインをするツールに Illustrator を選んだ一番の理由は、このソフトウェアが WYSIWYG(What You See Is What You Get)に対応しているからです。WYSIWYG とは、最終的な仕上がりを画面上で確認しながら編集できるというものになります。
Illustrator では、ほぼ正確な縦横比でグリッドを作ることができ、画面でそれを確認しながら、実際の作品にかなり近いところまで再現できるというのがポイントです。
WYSIWYG 以外にも便利な機能がたくさんありますので、私がウィービングのパターンをデザインする時に使う機能をいろいろ紹介していきたいと思います。
この記事ではまず、Illustrator の基本情報と、基本操作について説明します。
1. Illustrator Basic Information | Illustrator の基本情報
Adobe Illustrator is a paid software. It is offered as a subscription license.
There is a 7-day free trial period so you can try before you subscribe it.
There are three types of plans available for subscribers; if you plan to use the service for more than one year, the Yearly plan is the best value. There are two types of Yearly plans: one is billed upfront and the other is billed monthly. Both plans are for one-year use.
If you are not sure whether you will use the plan for a year, or if you want to try it for just one month first, there is the Monthly plan.
After you purchase a plan, it will be set to automatically renew. If you do not want to renew, you will need to manually cancel your subscription before the subscription period ends.
Note: This information is current as of July 2024. I recommend that you check the Adobe website for the latest information.
Adobe Illustrator は有料のソフトウェアになります。サブスクリプションというライセンス形態で提供されています。
7日間の無料お試し期間がありますので、サブスクライブする前に試すことができます。
サブスクライブには3種類のプランがあり、一年以上使う場合には、年間プランがお得です。年間プランには2種類あり、一括で支払う方法と毎月分割で支払う方法(月々払い)があります。どちらも一年間使う場合に選択するプランです。
一年使うかどうかわからない、まずは一か月だけ使ってみるという場合には、月々プランがあります。
プランを購入後、自動更新される設定になっていると思います。更新しない場合には、サブスクリプション期間終了前に手動でキャンセルする必要があります。
ご注意)この情報は、2024年7月現在の情報となります。最新の情報は、アドビ社のホームページでご確認いただくことをお勧めします。
2. Illustrator Basic Operations | Illustrator の基本操作
From this point on, I will explain basic operations for those who have already installed Illustrator and have never used it before.
If you have already used Illustrator, you can skip this information.
This section explains the steps from starting Illustrator and creating a new document, zooming in/out and moving on the artboard, as well as how to display several panels used to create a grid design, along with screen shots.
ここからは、Illustrator をすでにインストール済みの方で、一度も Illustrator を使ったことがない方に向けて、基本操作の説明をさせていただきます。
すでに使ったことがある場合には、この情報はスキップしていただいて問題ないです。
Illustrator を起動し新規ファイルを作成する手順から、アートボードの拡大・縮小・移動、さらに、グリッドデザインを作るときに使うパネルの出し方までを画面ショットととともに説明します。
2-1. Create a new document | 新規ドキュメントを作成
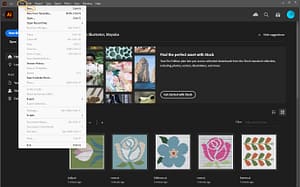
Start Illustrator and select New from the File menu.
Illustrator を起動し、ファイルメニューから新規を選択します。
2-2. Choose a document size | ドキュメントサイズを選択
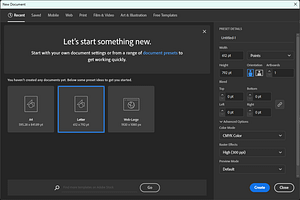
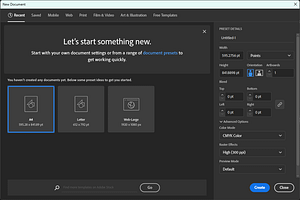
Select the Letter size or A4 size that is already available, and click the Create button.
Basically, letter size is used in the U.S., while A4 size is used in Europe and Japan.
It is convenient to use either of these sizes, since you may print the document later.
Please check which size your printer supports and select the document size.
If you are unsure of the document size, simply choose either one, as you can change it later.
すでに用意されているレターサイズか A4 サイズを選択し、作成ボタンをクリックします。
基本的には、アメリカでは、レターサイズ、ヨーロッパや日本では A4 サイズとなると思います。
のちのち印刷する可能性もあるので、このどちらかのサイズで作っておくと便利です。
お持ちのプリンターがどちらのサイズに対応しているか確認の上、ドキュメントサイズを選択してください。
もしドキュメントサイズがわからない場合には、あとで変更できるので、どちらか一方を選んでおくだけでOKです。
When you create a new document, a blank document is opened. This is called the artboard. We will create weaving designs in the artboards.
新規ドキュメントを作成すると、白紙のドキュメントが開かれます。これをアートボードと呼びます。このアートボードの中にデザインを作成していきます。
2-3. Zoom Tool and Hand Tool | ズームツールと手のひらツール
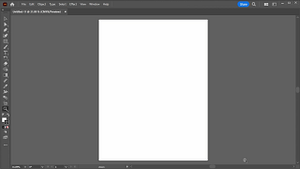
The vertical group of tools on the left side of the screen is called the toolbar.
To zoom in or out on the artboard screen, select the Zoom tool, which is the magnifying glass icon on the toolbar.
Alternatively, press “Z” on your keyboard to select the zoom tool.
画面左側に縦に並んでいるツール群がツールバーと呼ばれるものになります。
アートボードの画面を拡大したり縮小したりするには、ツールバーにある虫眼鏡アイコンのズームツールを選択します。
または、キーボードの「Z」を押すと、ズームツールを選択することができます。

On the artboard with the Zoom tool selected, drag to the lower right to enlarge the screen, or drag to the upper left to shrink the screen.
ズームツールを選択したままアートボード上で、右下にドラッグすると画面が拡大し、左上にドラッグすると画面が縮小します。

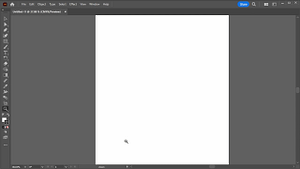
To move the artboard, right-click on the Zoom tool icon and select the Hand tool.
Alternatively, press “H” on your keyboard to select the Hand tool.
アートボードを移動したい場合には、ズームツールのアイコンを右クリックして、手のひらツールを選択します。
または、キーボードの「H」を押すと、手のひらツールを選択することができます。

Once the Hand tool is selected, move the mouse pointer over the artboard, click and hold, and drag the mouse to move the artboard around on the screen.
手のひらツールを選択したら、アートボードの上にマウスポインタをもってきて、クリックしたままマウスをドラッグすると、アートボードを画面上で移動させることができます。

2-4. Display panels | パネルを表示
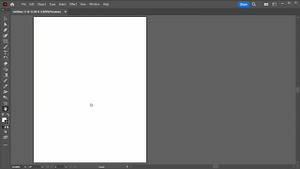
Next, select the following panels from the Window menu to display them:
- Layers
- Properties
- Swatches
- Character
次に、ウィンドウメニューから以下のパネル名を選択して表示します。
- レイヤー
- プロパティ
- スウォッチ
- 文字

The above series of steps can be viewed in the YouTube video. I hope it will be helpful.
以上の一連のステップを YouTube 動画で見ていただくことができます。参考になれば幸いです。
You are now ready to create a grid template.
See the following article to create it.
Thank you for reading to the end!
これでグリッドテンプレートを作成する準備ができました。
次の記事を参照して、グリッドテンプレートを作成していきましょう。
最後まで読んでいただき、ありがとうございます。