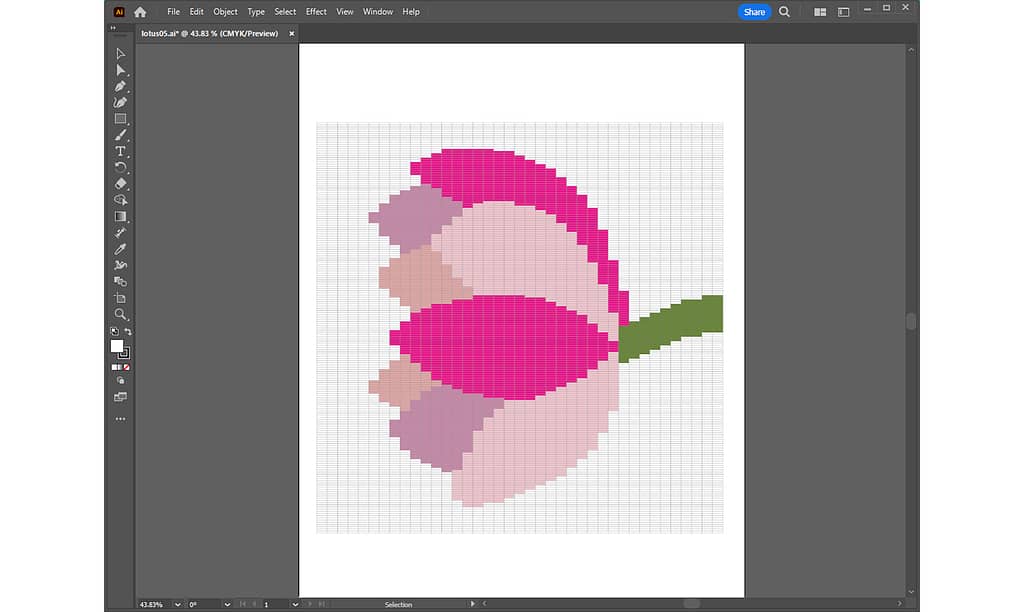
When actually weaving, we want to connect the weft threads as much as possible. It would be easier to do less tailings.
This time, let’s adjust the rough design made last time in Adobe Illustrator to make it easier to weave.
For previous articles, please refer to the following links:
- [1] For basic information and basic operations of Illustrator, Adobe Illustrator for Weaving Grid Design
- [2] For information on how to create a grid template, Creating a Grid Template in Adobe Illustrator
- [3] For information on how to import a rough sketch, Placing a Rough Sketch in Adobe Illustrator
- [4] For information on how to create a rough grid design, Coloring on the Grid in Adobe Illustrator
This article will discuss the following items:
1. Explanation of weaving technique “Meet and Separate”
In my previous article, “Mastering Plain and Tapestry Weaving with a Sample“, I introduced the “Meet and Separate” weaving technique.
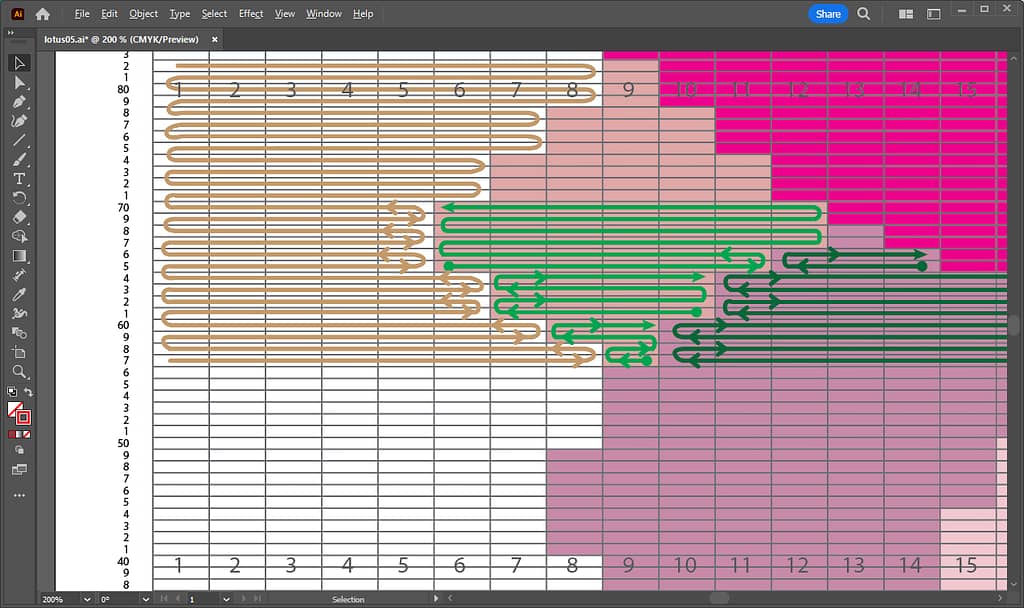
The meet-and-separate technique is a weaving method in which the weft threads meet and separate at the border of the pattern. The points where the weft threads fold over are always next to each other at the border of the pattern.
This technique prevents the weavings from becoming misaligned and revealing warp threads.
Now, let’s point out the places that are not meet and separate in the rough design grid created last time.
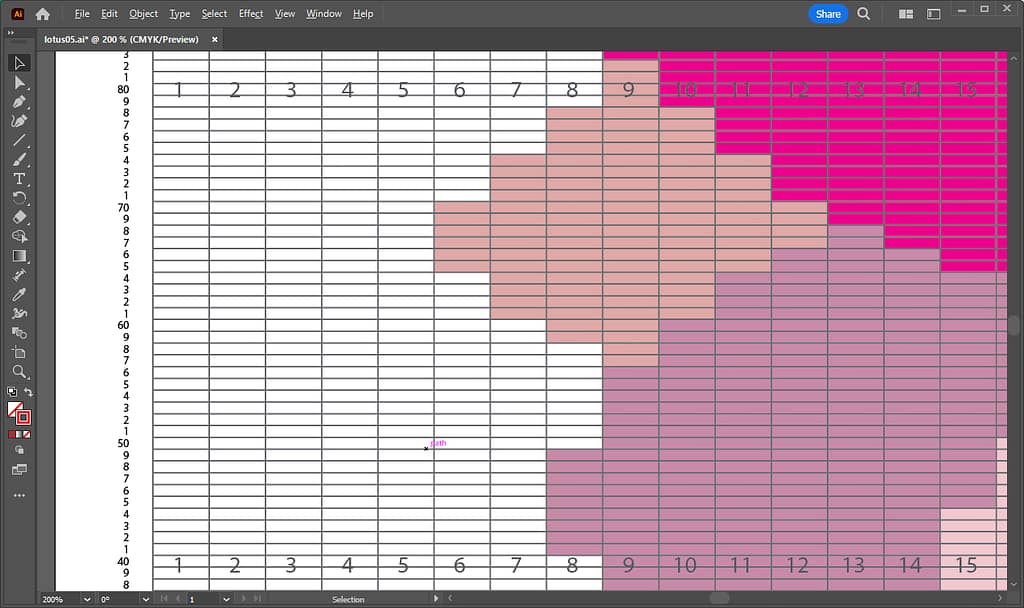
In Figure 1, I zoomed in on some of the petals. In Figure 2, I have drawn arrows on the pathways where the weft threads will travel.
In the figure below, I put “O” marks for places that follow Meet and Separate and “X” marks for places that do not.
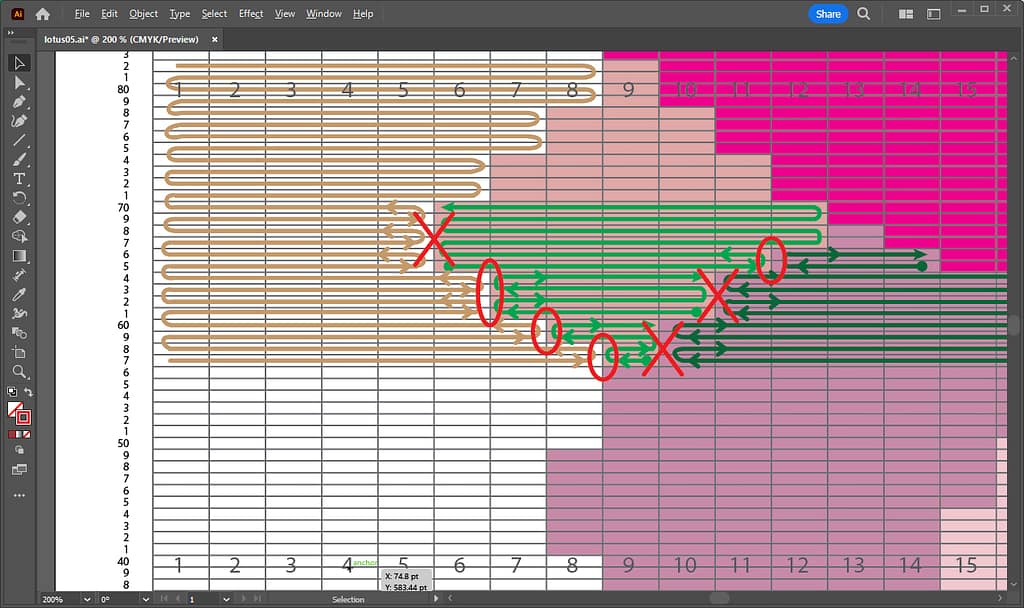
X: Not Meet and Separate (Heading in the same direction)
Now let’s adjust the pathways of the weft threads in the next section.
2. Adjusting the design while simulating the path of the weft threads
The smallest petal described in the section above has been slightly edited in Illustrator as shown in the figure below.
The red frames are the rectangles the color was changed to the adjacent petal color, and the blue frames are the rectangles where the color was added.

Blue frames are the rectangles where the color was added
With this slight edit, the weft pathways now follow meet and separate, as shown in the figure below.

There are two points to check in this adjustment process:
As shown in the figure below, a weft fold point occurs at the border of the pattern for each petal. Notice that the places with the orange vertical lines have an even number of rows.
Another point to check is that the left and right folded rows of a pattern are not the same. For example, as indicated by the orange curve and arrow, the last folded over row on the right side is one row before the last fold on the left side.
Making adjustments at the two points above will result in a grid design that allows the weft to be woven as long as possible.
However, it is also important to make adjustments so as not to significantly disrupt the design.
For example, as the pattern becomes more complex, the number of weft colors used in a single row increases, and it may not be possible to fold over an even number of rows.
The places with blue vertical lines have an odd number of rows. In such cases, that is where the tailing of the weft should be performed.
When a long weft pathway does not continue well, I would give up and use tail processing when weaving.
Alternatively, take the method described in the following article to move the weft once to the back side of the warp.

3. Zoom in and out of the screen to see the overall balance
Once the weft pathways are simulated and the design is adjusted, look at the overall balance.
Zoom out the artboard in Illustrator and check for any lines of concern.
- It is easier to check the whole design if only the grid layer is displayed, so hide all but the grid layer.
In the Layers panel, click the eye icon to the left of the Scale layer and the Image layer to hide the layers.
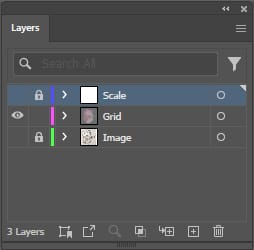
- With the Zoom tool, zoom out on the artboard so that the entire design is visible.
By zooming out quite small, as shown in the figures below, it will be easier to get a sense of the overall atmosphere.
Before adjustment is on the left and after adjustment is on the right. Each zooms out to 12.5%.

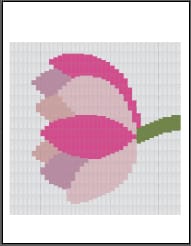
- If there are any lines that bother you, repeat corrections and adjustments to complete the grid design.
4. Save the file
Once here, choose Save from the File menu to overwrite the file.
Just to be safe, I would like to save the backup file.
Again, open the File menu, this time selecting Save As, and save the file under a different name, such as “Backup“.
In this article, we made design adjustments considering the pathways of the weft. After all this work, we are almost done.
In the next article, I would like to show you how to adjust the colors.
Thank you for reading to the end!